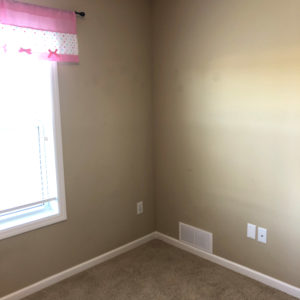
It is amazing how quickly kids move through phases. On one day, they need to collect every Paw Patrol character imaginable. Then, they move onto building a vast collection of Shopkins (at least they are small!) Then, it’s L. O. L. dolls, and so on and so on… Last weekend, my 6 year old daughter told me she was WAY too big to have a doll house in her room. So, before she could change her mind, we were on our way to give the doll house to my friend’s 2 year old daughter.
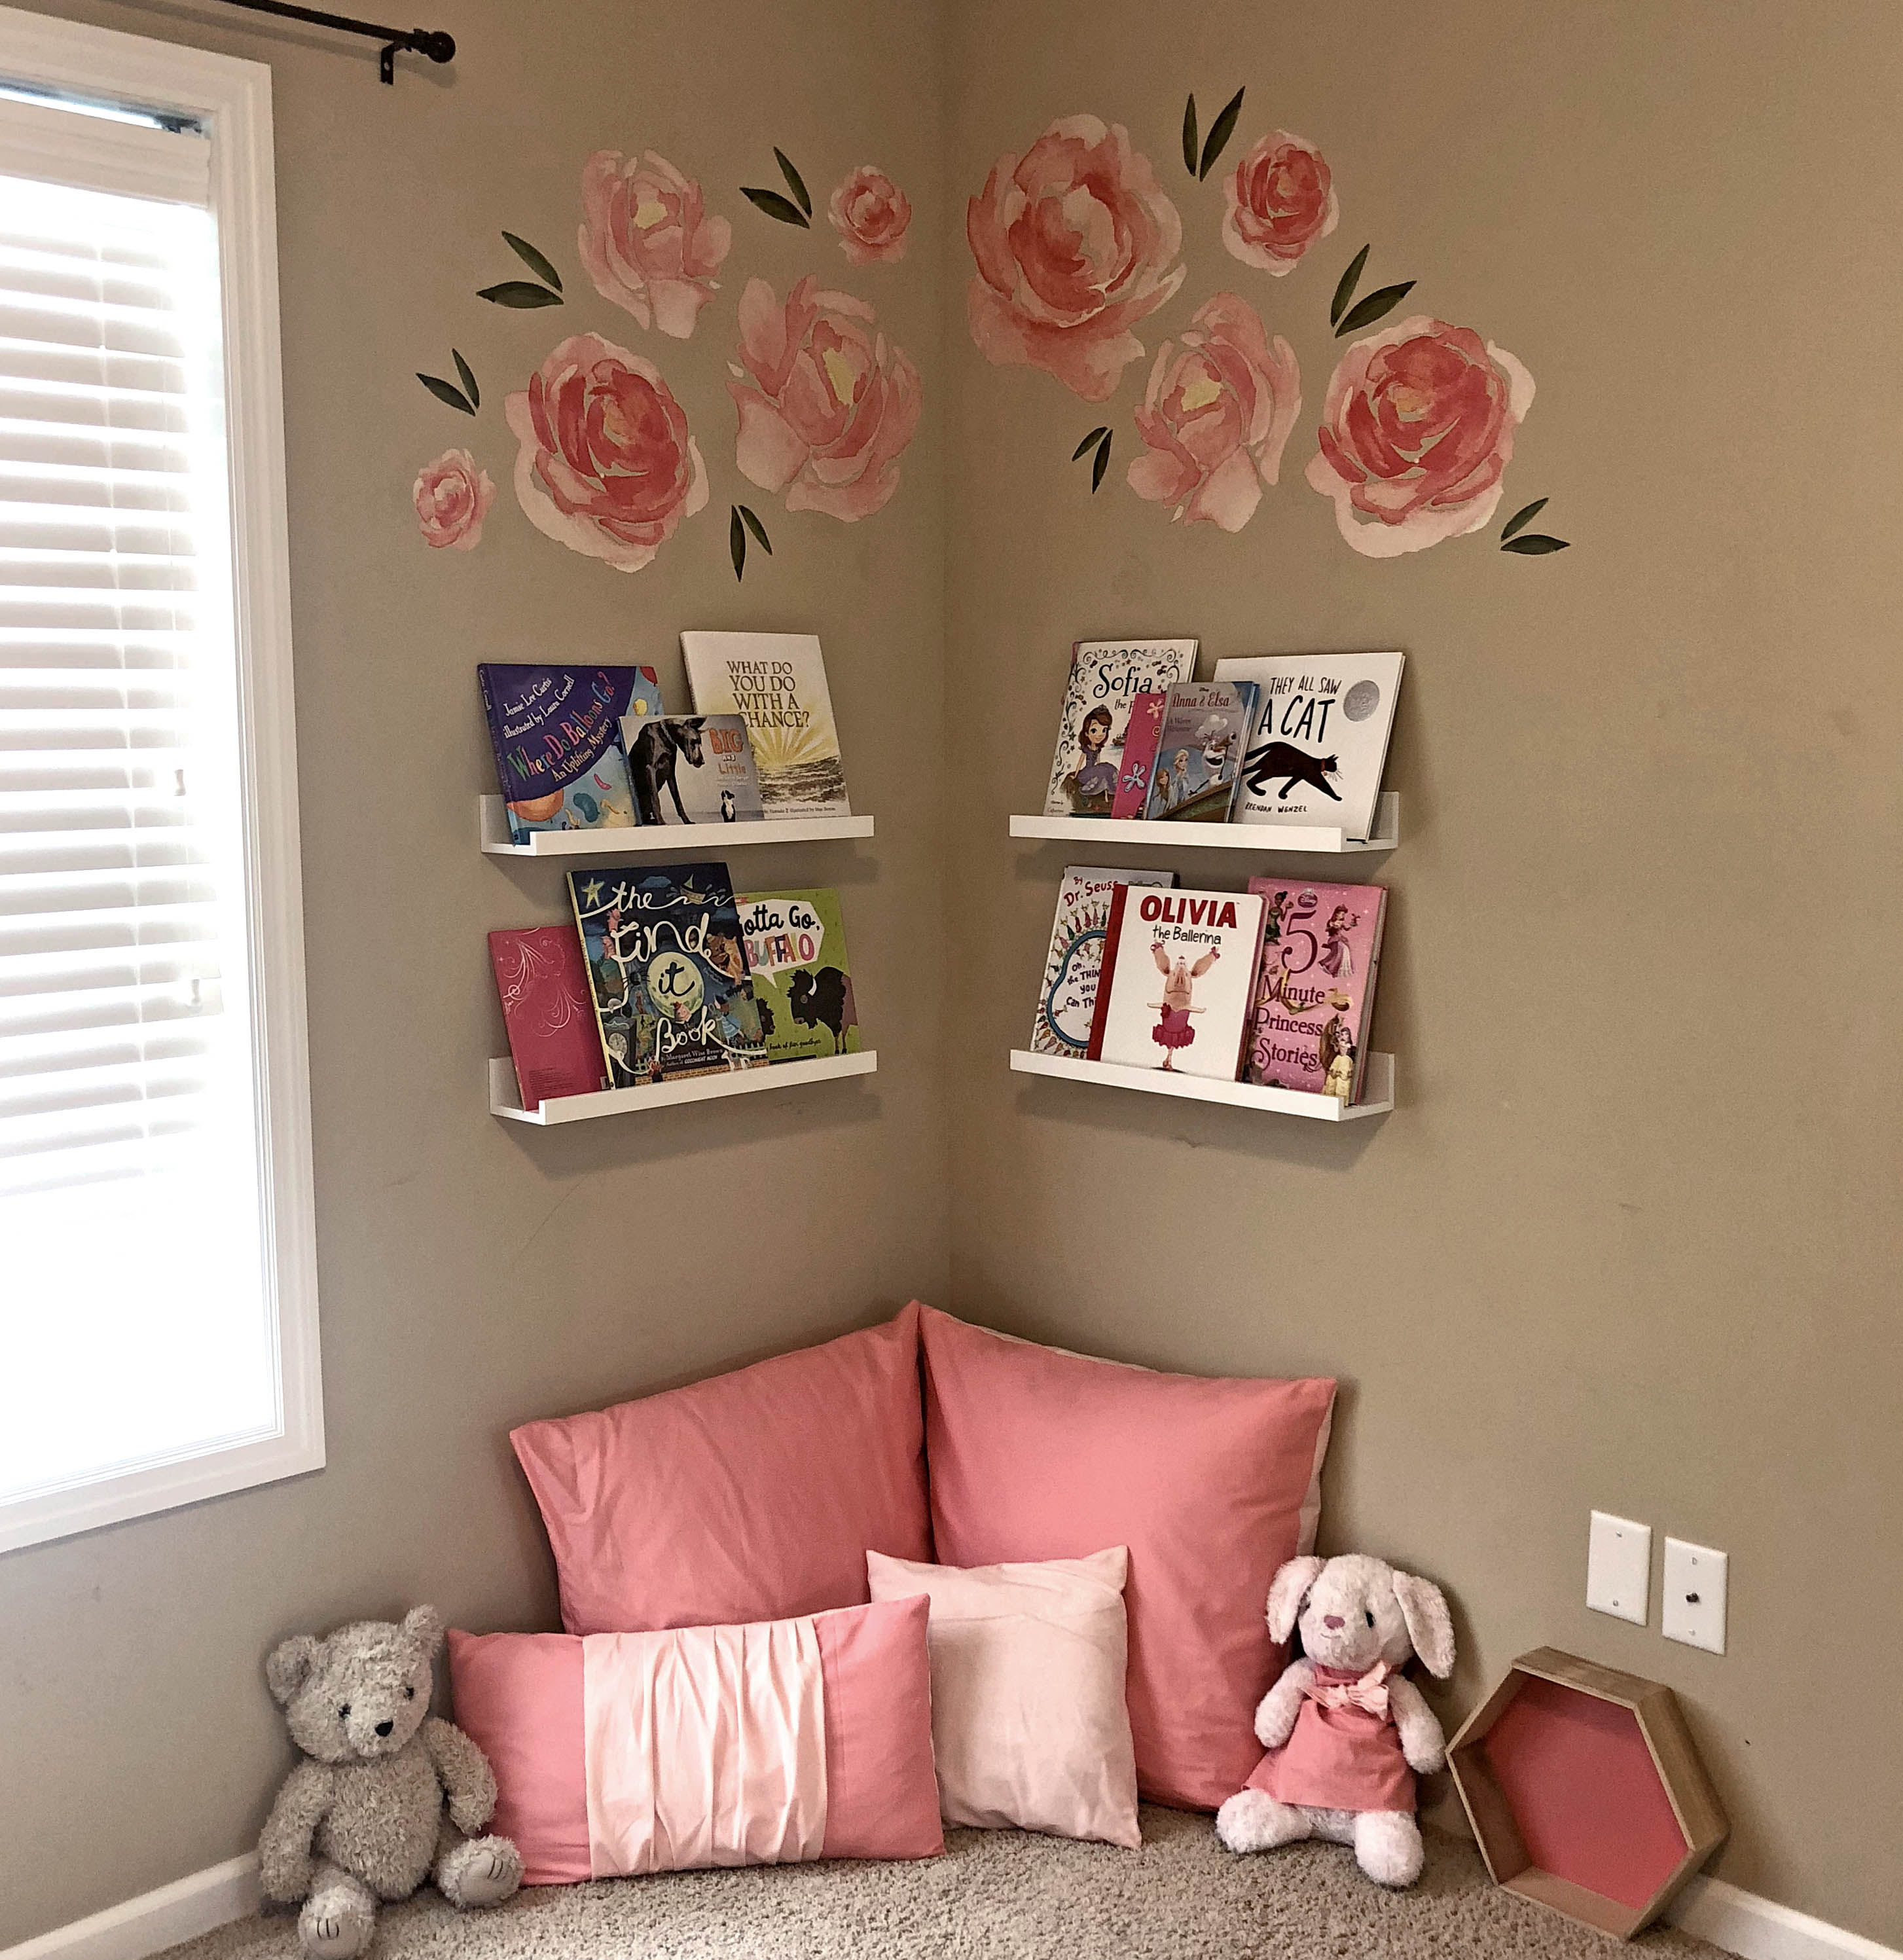
When I returned home, my daughter’s room looked so bare! That’s when I came up with my Ikea-Hack Reading Nook concept!
I needed a project that was easy, hassle-free, inexpensive and created an amazing look. This Ikea-Hack reading nook completely fit the bill. Here’s how I created this look:
SUPPLIES
- 4 Mosslanda Ikea shelves https://www.ikea.com/us/en/catalog/products/40291766/
- 8 drywall screws
- Painter’s Tape
- Measuring Tape
- Level
- Credit card (optional)
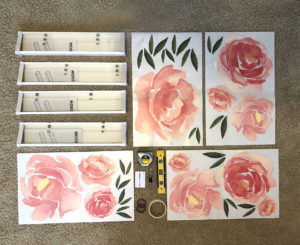
- Drill
- 1 pack of Paper Riot Better Than Paint™ – Pink Watercolor Blooms https://www.paper-riot.com/product/pink-watercolor-blooms/
STEP 1:
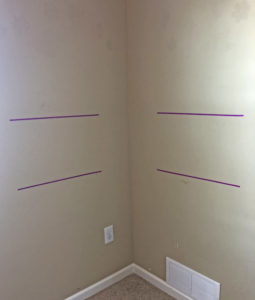
Measure the height and location for each shelf. I used washi tape to mark where I would be placing the shelves. This helped me visualize the entire space….and washi tape always makes it more fun!
STEP 2:
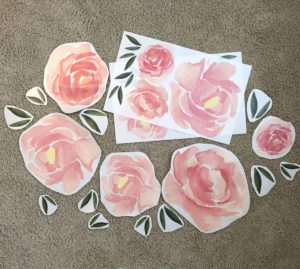
Cut out all of the pieces of the Better Than Paint Blooms.
STEP 3:
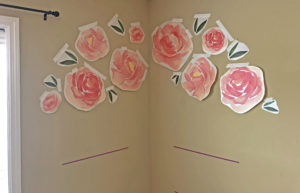
Use painter’s tape to hang the pieces on the wall. Don’t remove the white backing yet! Then, step back and admire your layout. Make sure you have every piece in the right spot. It took me a few times to arrange the pieces in a way that worked well with the space. I even remembered to measure the distance between the washi tape shelf marks and the bottom of the blooms – I needed to make sure I left enough space for the books!
STEP 4:
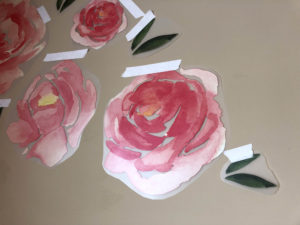
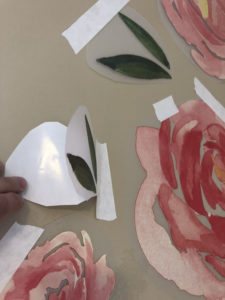
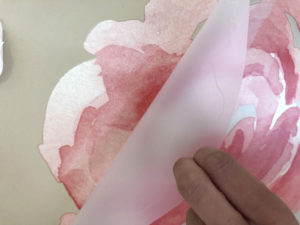
Peel the white backer off each piece. (The painter’s tape should still be used to hold the pieces to the wall). Press the Better Than Paint pieces firmly to the wall.
STEP 5:
Use the provided applicator or any flat object (I used a credit card) and rub the Better Than Paint Art Transfer onto the wall. Make sure you start at the top and work your way down. Peel the transfer paper off as you move down. Move onto the next art transfer until you have transferred all blooms and leaves to the wall. You might want to take some breaks during this part of the project – it’s kind of hard work!
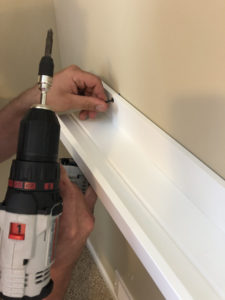
STEP 6:
Now it is time to hang the shelves. You may have noticed that drywall screws were included in the supplies. This is because the Ikea shelves don’t include screws with their shelves! I was pretty annoyed until I found some extra drywall screws from our last remodel project. From that point, it was smooth-sailing. I used a drill to screw the shelves to the wall, based on the measured lines I had marked in Step 1.
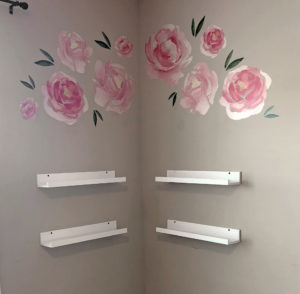
After I screwed all of the Ikea shelves to the wall, it was time to set up the books and admire my work!
EXTRA CREDIT:
I picked up some pink fabric and sewed pillow cases to match the blooms. I used 26” x 26” euro shams for the larger pillows and simply recovered some smaller pillows I had in storage. The pillows were a great finishing touch and really made the colors of the Better Than Paint blooms pop! Now…with such a cute reading nook, my daughter can’t help but become a reading pro!
