When you get it right, adding the right wall art to a room can provide that elusive finishing touch that pulls a whole scheme together. If you’re a novice with wall art or you never quite feel that you’re getting it bang-on, there are a few basic guidelines to follow that will help you chose and hang your art correctly. In this article I want to share these guidelines with you and, inspired by this article, some tips on how to make the most of your wall art.
Nailing the Basics
- Hang the center of the art at eye level. If you’ll generally be looking at the pictures while sitting, line up with your seated eye level. If you’re hanging multiple pieces around a room, place all the midpoints at the same height.
- Select artwork to scale. If you’re hanging art above a sofa or table, a good guide is for the picture to be around two-thirds the length of the furniture. If you have many smaller pieces group them together so that the overall display is correctly scaled, or place them in the smaller gaps between doors and windows.
- For larger pieces, try to allow room for people to step back and take in the piece.
- Remember that wall art can also be propped on the floor against a wall and placed on mantles or bookcases.
- Symmetrical grids and linear arrangements work well where frames and subjects are similar, more eclectic collections display more effectively in clusters.
Here’s a great introductory guide to different ways to arrange your artwork from Houzz.com
Tip 1 – Art as window
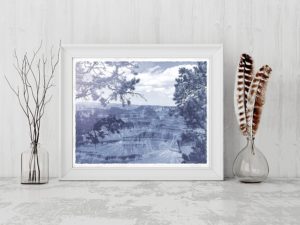
A friend asked me recently for some advice on the best lighting for an office with no windows and I started to think about how the right artwork can replace or add to a window in an office, by visually bringing the outdoors in, and hinting at the possibility of escape. Landscape art is the go-to for this purpose, but a photorealistic landscape can seem like you’re trying too hard. A more sophisticated alternative could be to use a landscape that has been color-washed like this denim-blue take on the Grand Canyon.
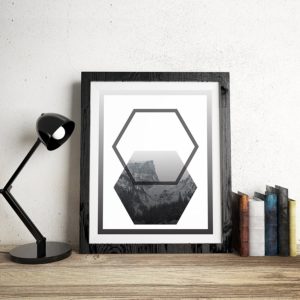
Another option is to add some playful geometric elements so you get a window inside a window effect.
Tip 2 – Change it up
If you like to change your accents every season, love to repaint your walls in different colors, and generally need a shot of visual stimulation in your home on a regular basis, why not try wall decals? This article has some great ideas to get you started and the best thing about these little beauties is that they are super-easy to apply, remove, and then re-apply. Decals are also a fantastic option for big impact artwork if you’re in rented and can’t make any holes in the walls.
Tip 3 – Art that speaks to your heart
For advice choosing original art, check out this helpful article from mydomaine.com. If you’re considering buying an original piece, throw caution to the wind and buy the one that makes your heart beat faster, not the one that happens to tone in with your color scheme. If you have to redecorate around your new art, it will absolutely be worth it! Also take a quick peek at this article from House-nerd.com which includes some handy tips for discovering new art and sourcing affordable versions of the art you love.
Tip 4 – Create visual harmony
If you’re creating a display of multiple pieces there are a few ways that you can ensure the overall effect is harmonious. Using a single style and color for frames is a stylish designer fix that can unify disparate pieces. A more subtle and intriguing approach is to link the subject of your artwork thematically. Your visitors will try and puzzle out the secret of your display, and will feel rewarded when they get it.
Creating harmony with color also works well, use similar tones and colors across your art display and then use those colors in one or two bold accents elsewhere in the room to create an intentional echo that pulls the entire scheme together.
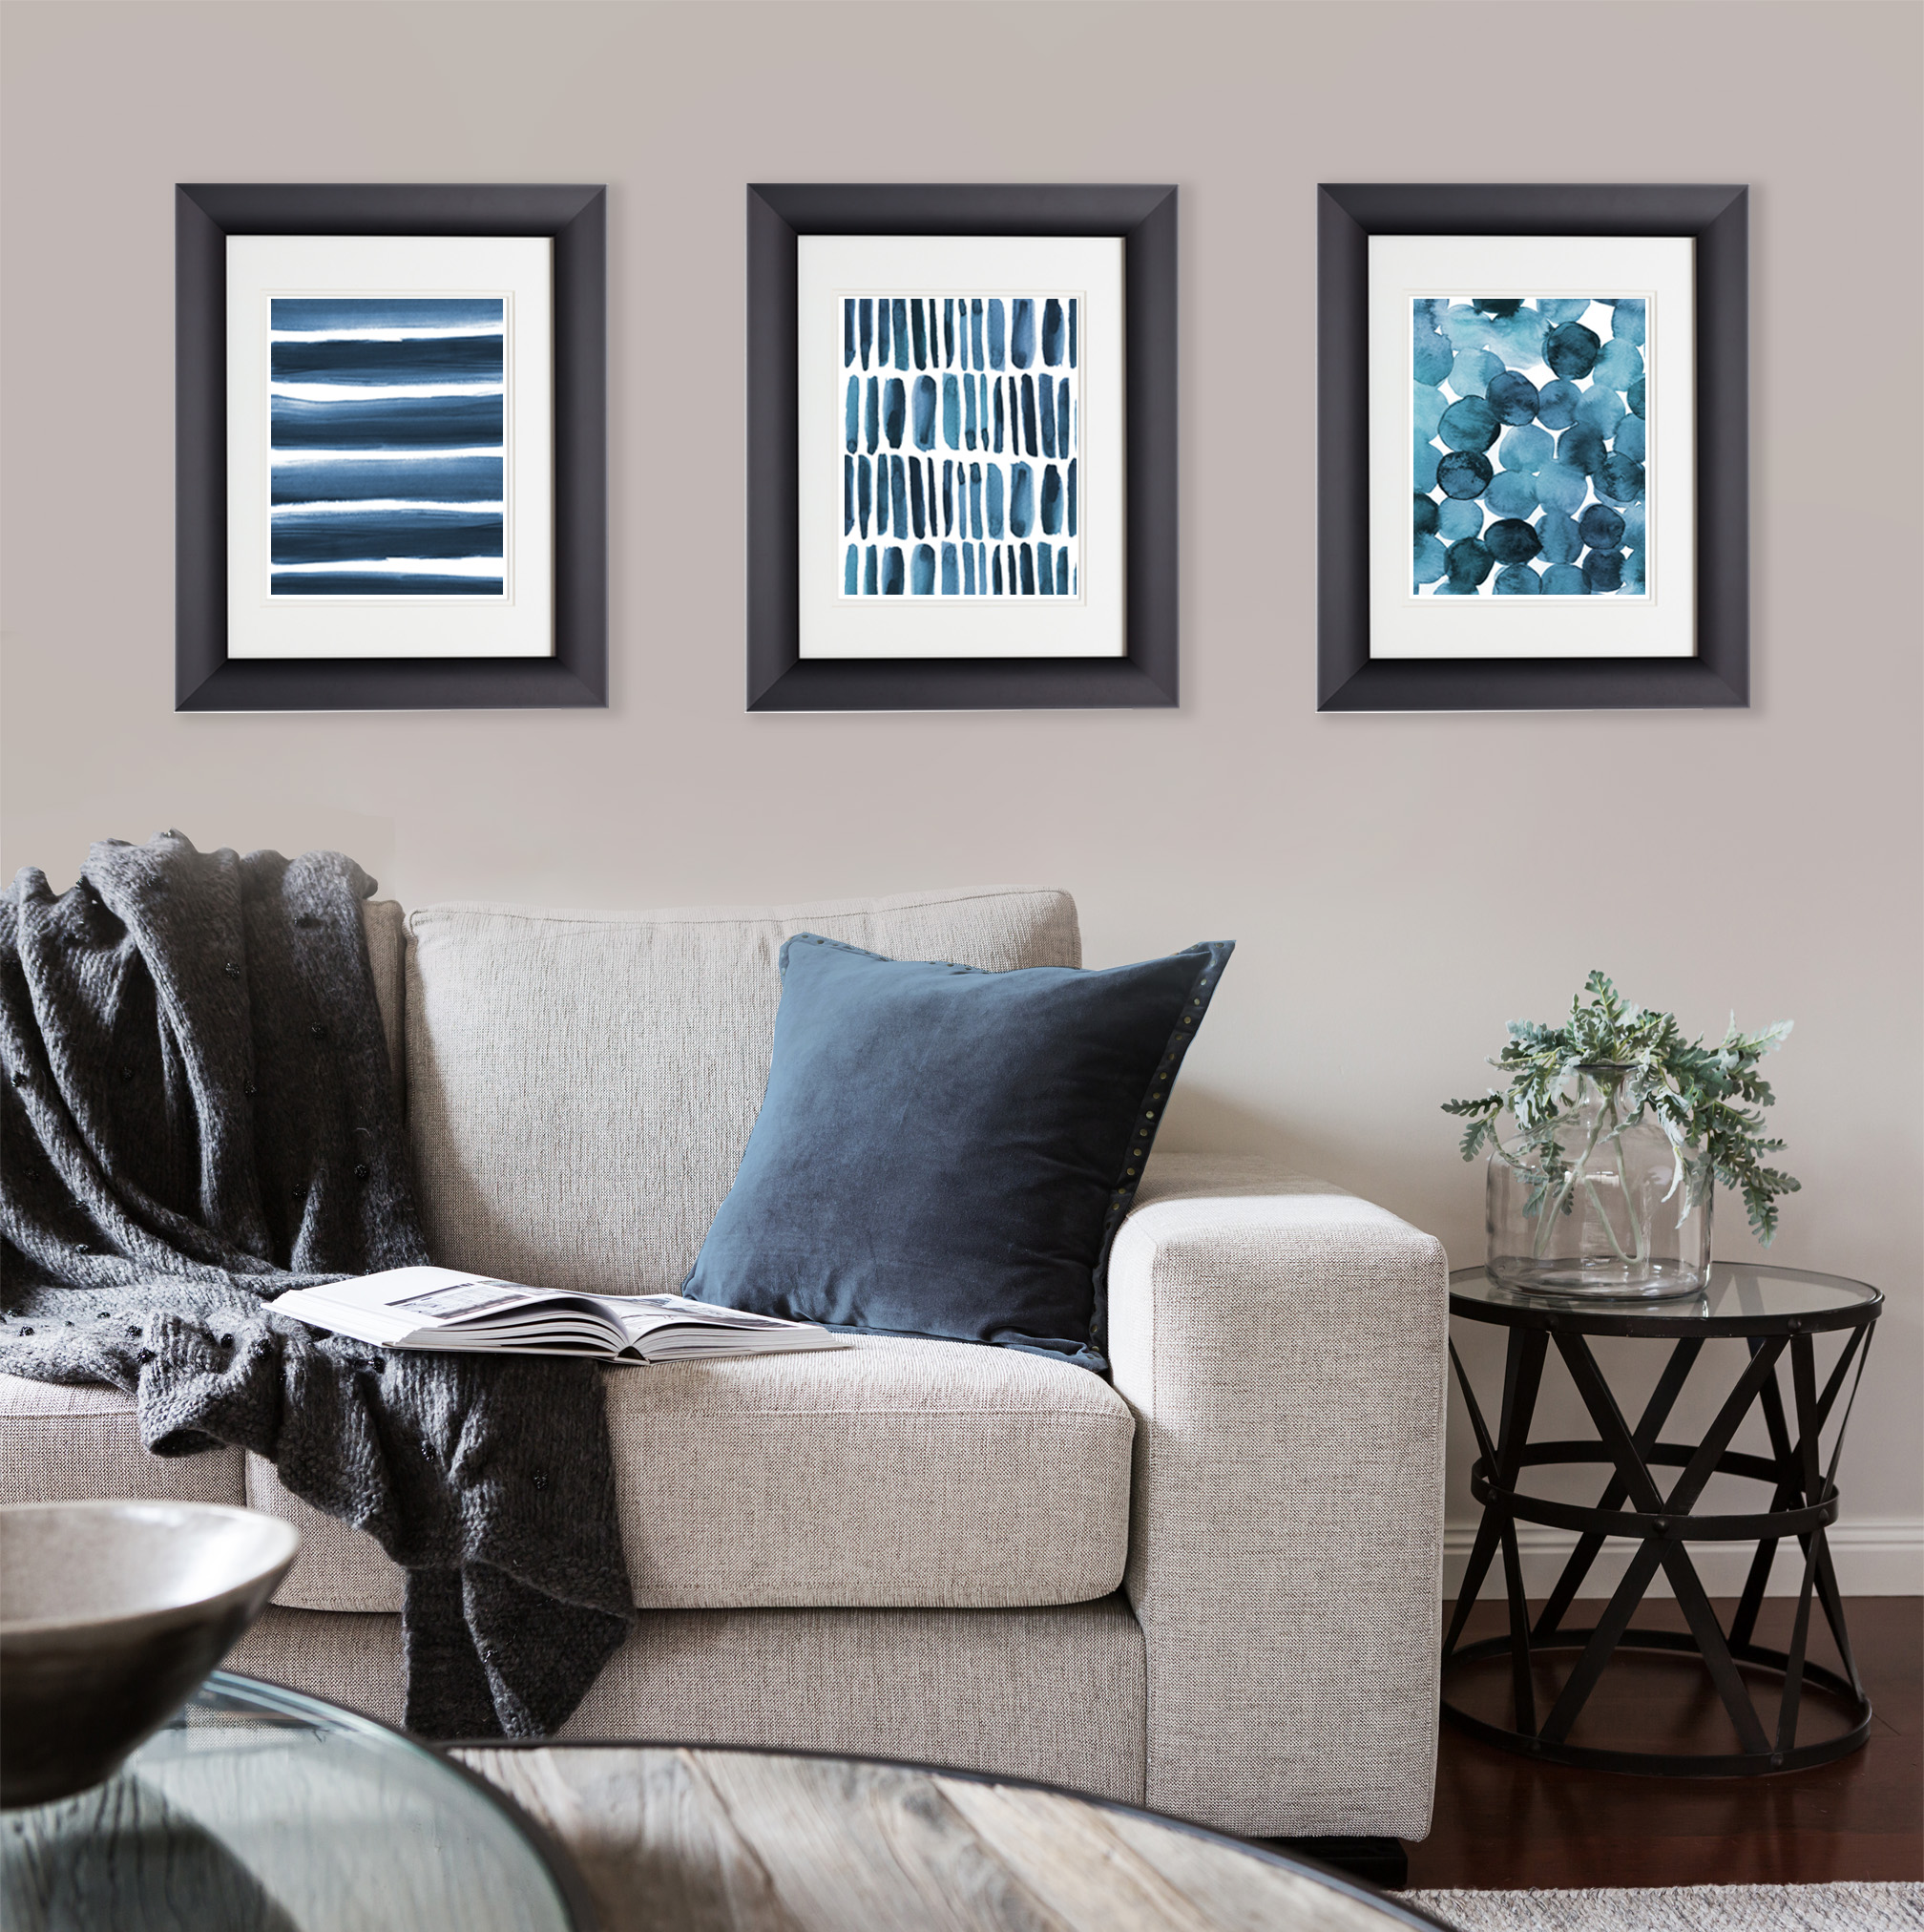
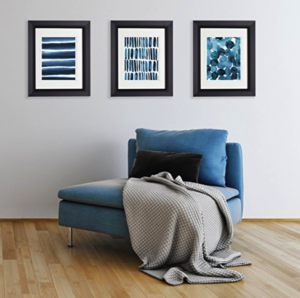
For example, the identical frames, similar color tones, and matching abstract subjects of these three prints work well together to create a harmonious display.
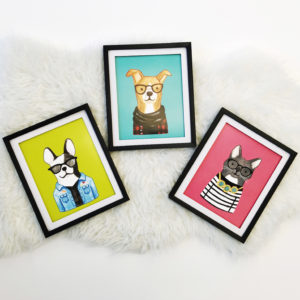
These cute prints also use the same frames and very similar subjects so that the different brightly colored backgrounds enhance and intensify the effect rather than fighting with each other.
I hope that you’ve found this article helpful and that it’s given you some new ideas for how to organize the artwork in your own home. I’d love to read your ideas for your own home, please feel free to use the comments section below and share this article with your friends if you’d like to.