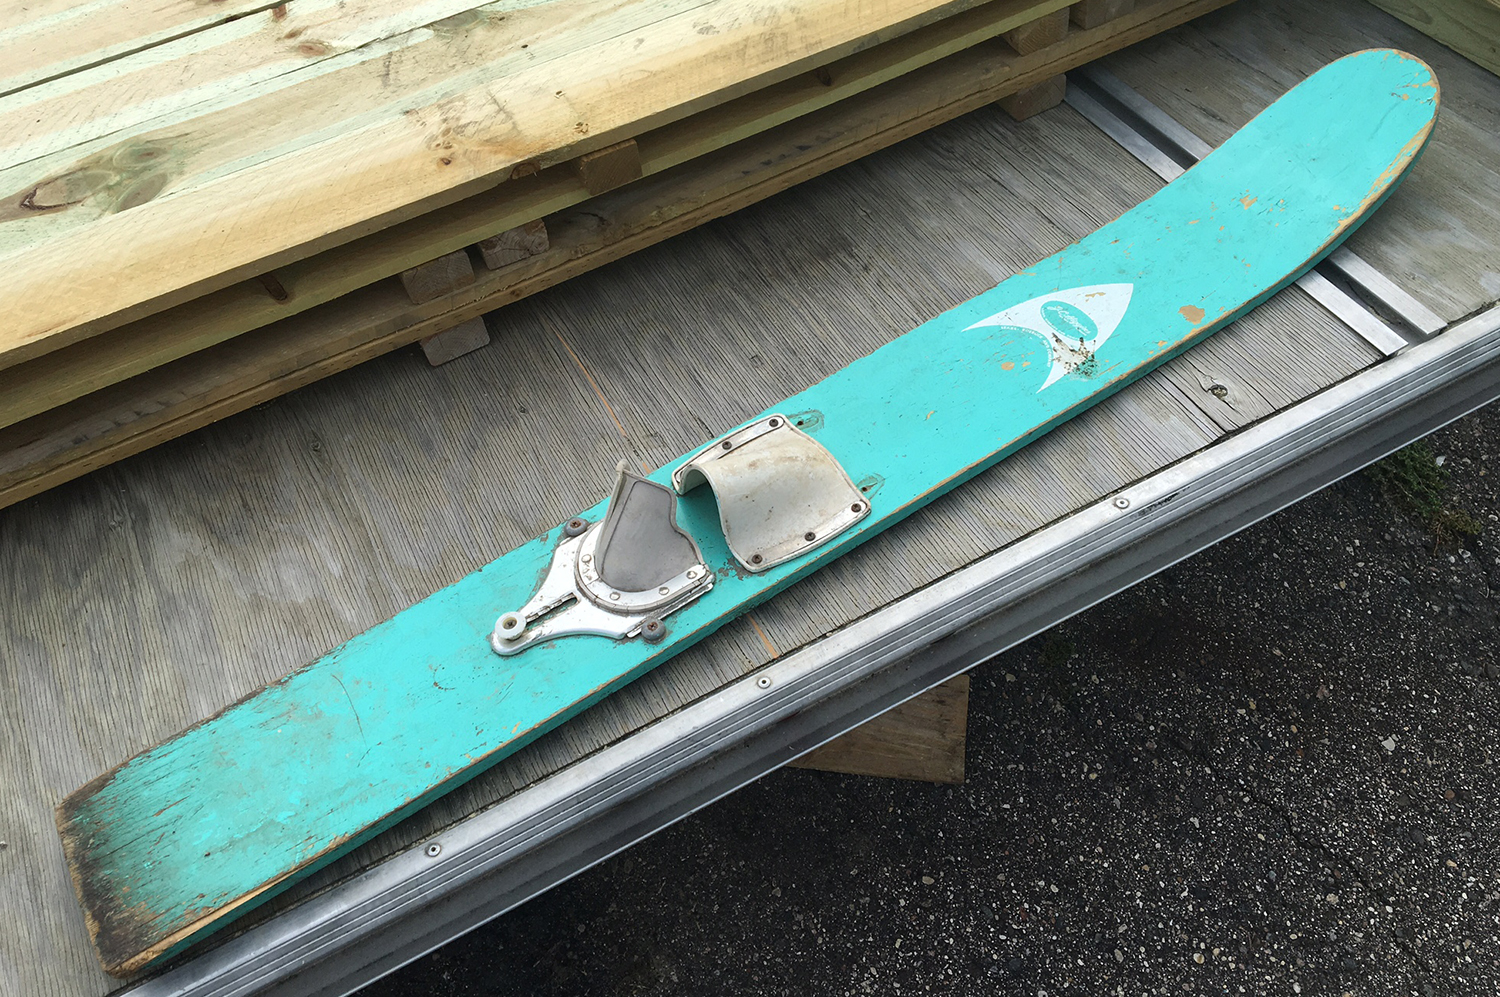
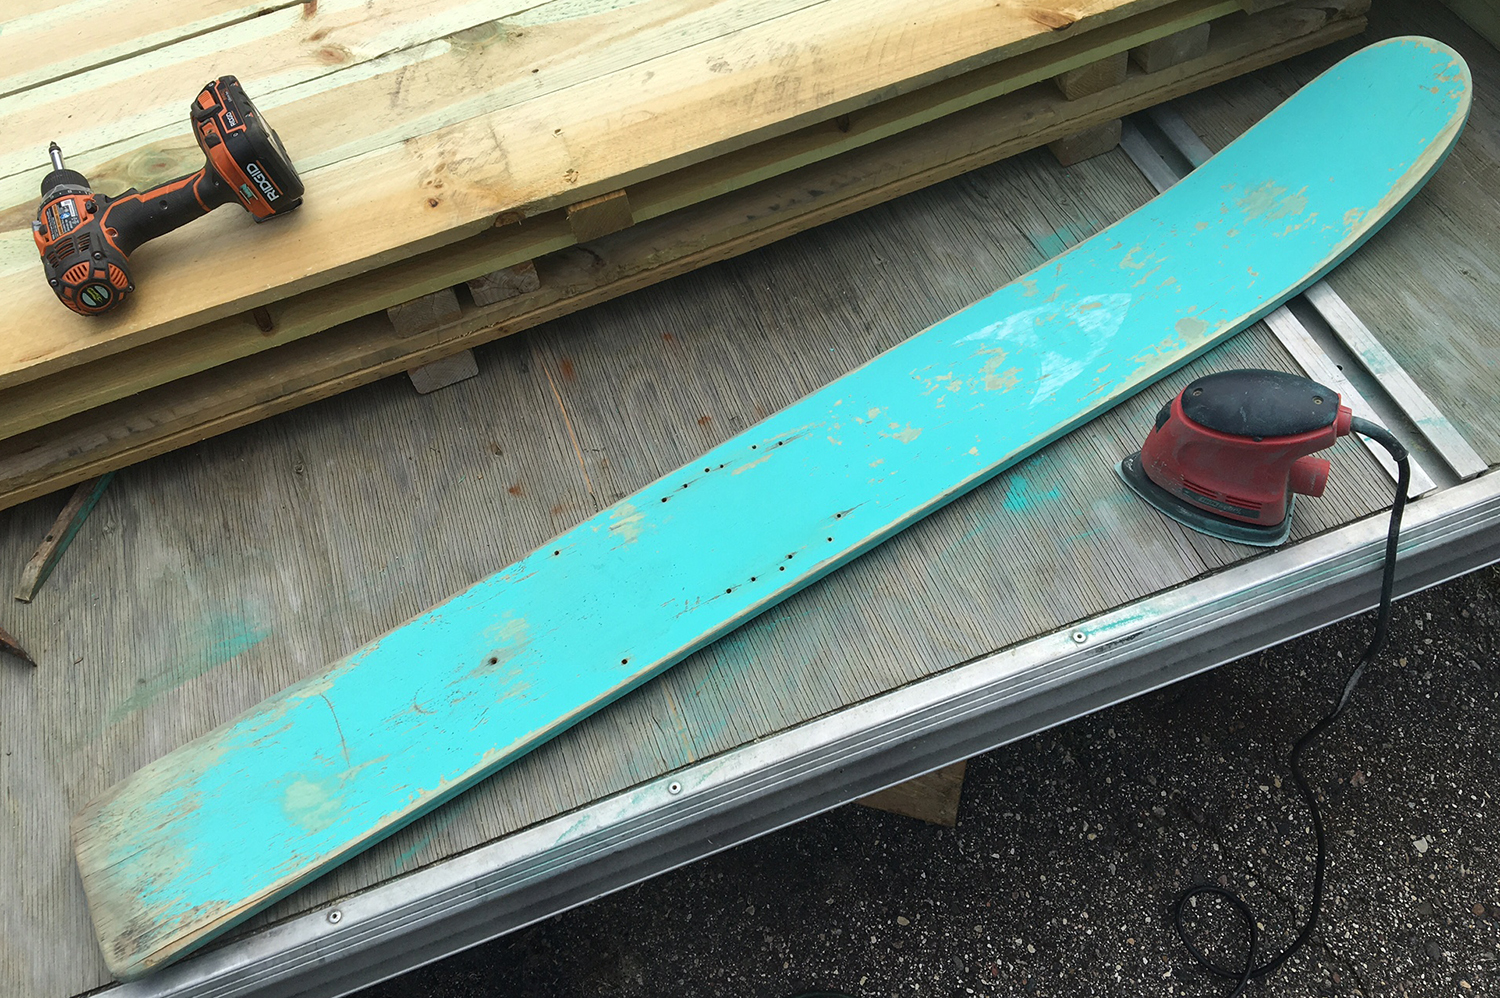
Last summer, I ran across some fun old water skis at a vintage garage sale. I had no idea what I’d end up doing with them, but clearly for 10 bucks for the set they needed to come home with me. I’m not going to lie – I set one of them just like this on my work bench and stared at it for a good 20 minutes before it hit me. It was going to make a wonderfully awesome coat rack. At least in theory.
Supplies you’ll need:
Vintage Water Ski
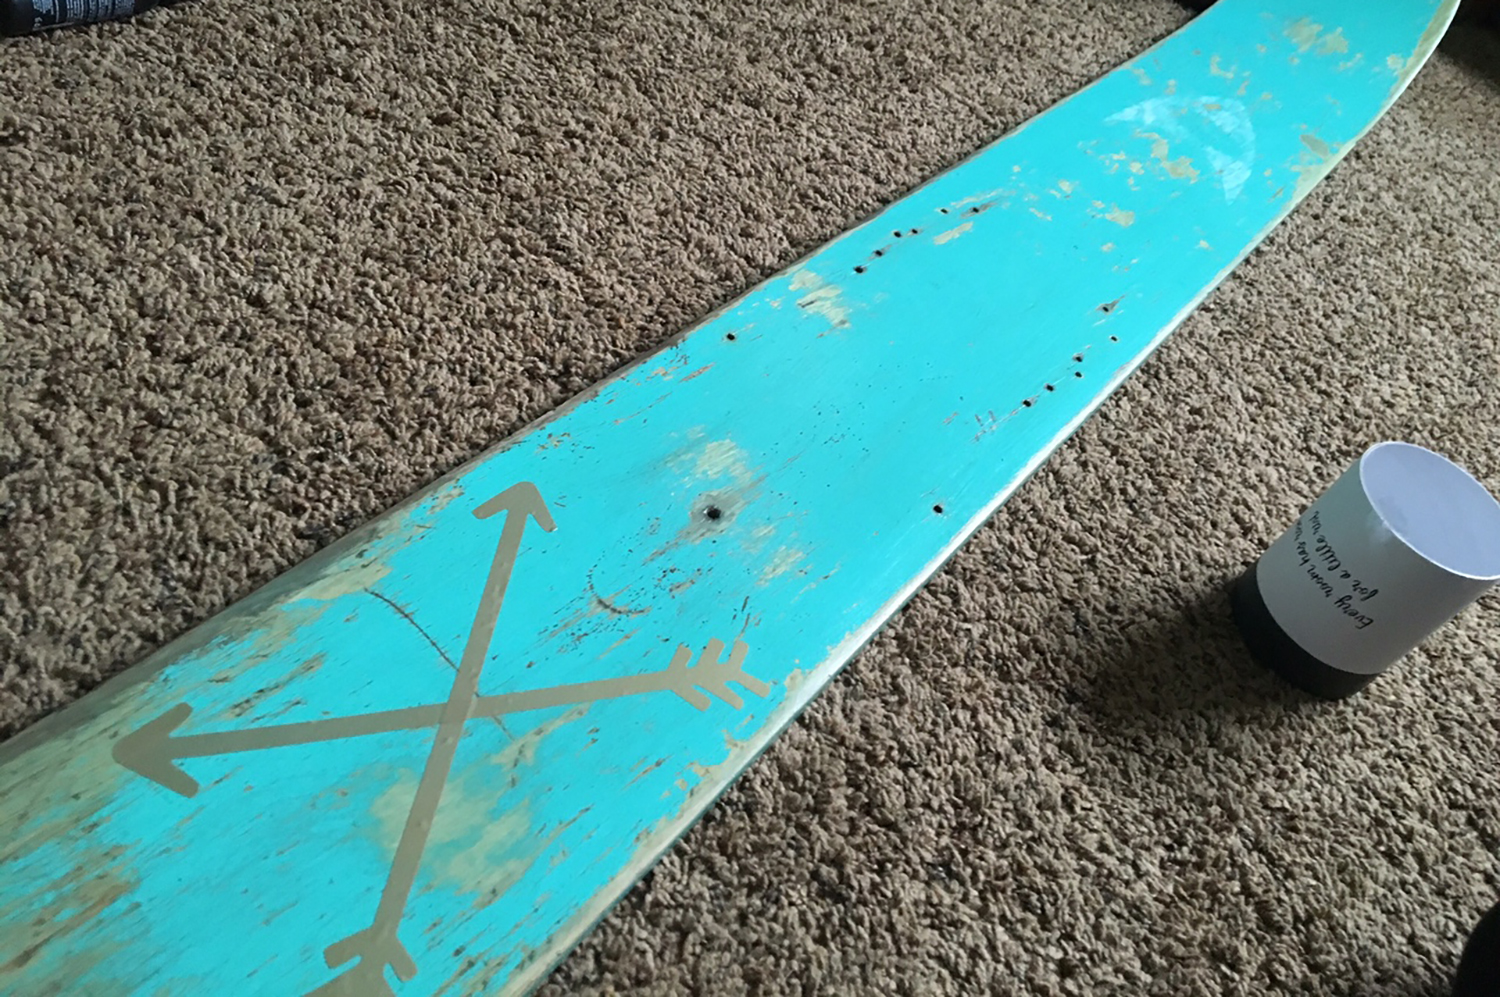
Paper Riot Co. Be You Jumbo Wall Decals
Screwdriver (to remove hardware)
Rag & Warm Soapy Water
Palm Sander with 120 grit sandpaper
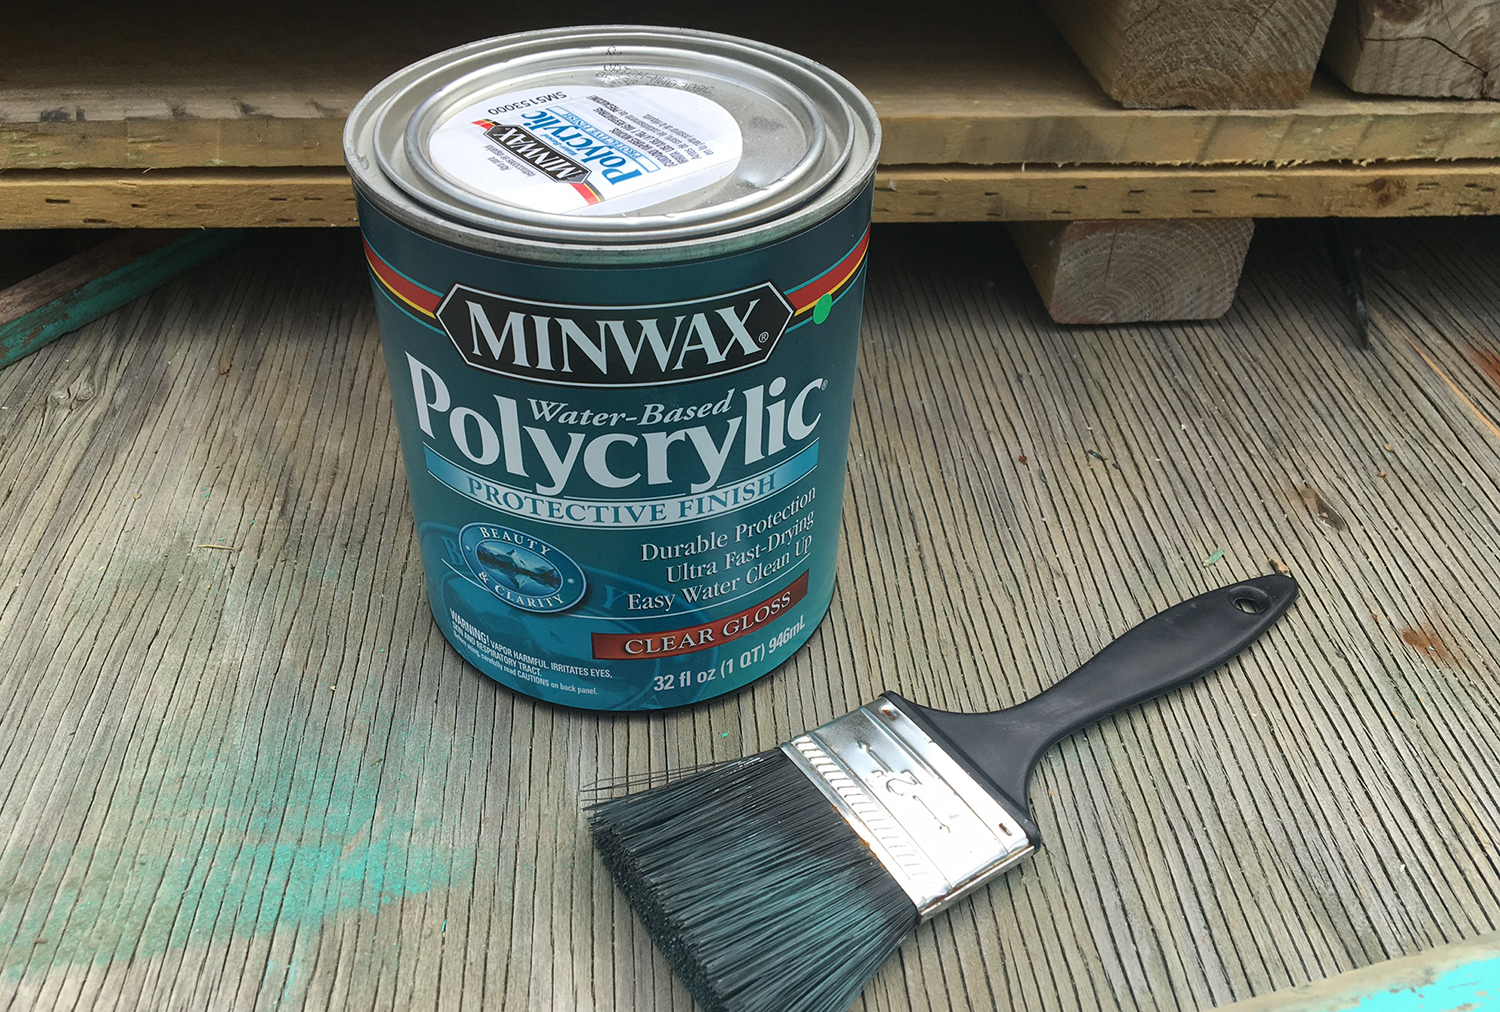
Minwax Polycrylic Sealer
Metal Hooks
Hanging Hardware
Here’s what it looked like to start:
My first task was to remove the hardware, which just required a screwdriver. Easy peezy. That left a bunch of yucky gunk that had collected under the pieces I’d just removed. Here’s where I grabbed a warm, soapy rag and scrubbed it all off. 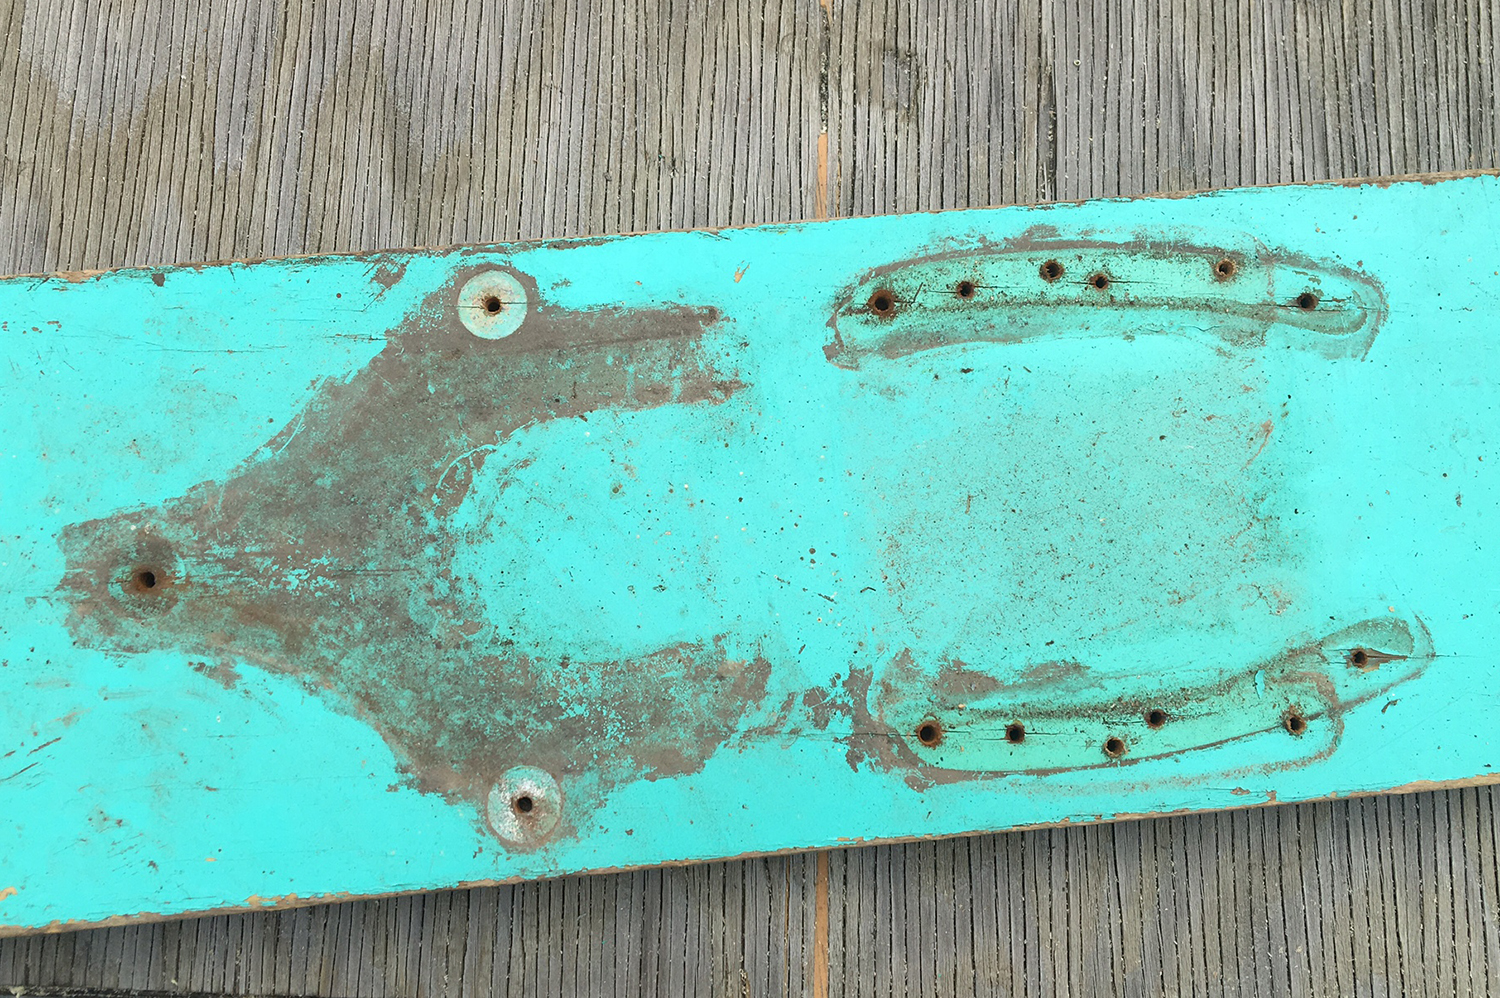
Once I let it completely dry, I gave it a good, thorough sanding. Like, to the point where if you closed your eyes and ran your hand across the surface it was smooth. I just used a palm sander with 120 grit sandpaper.
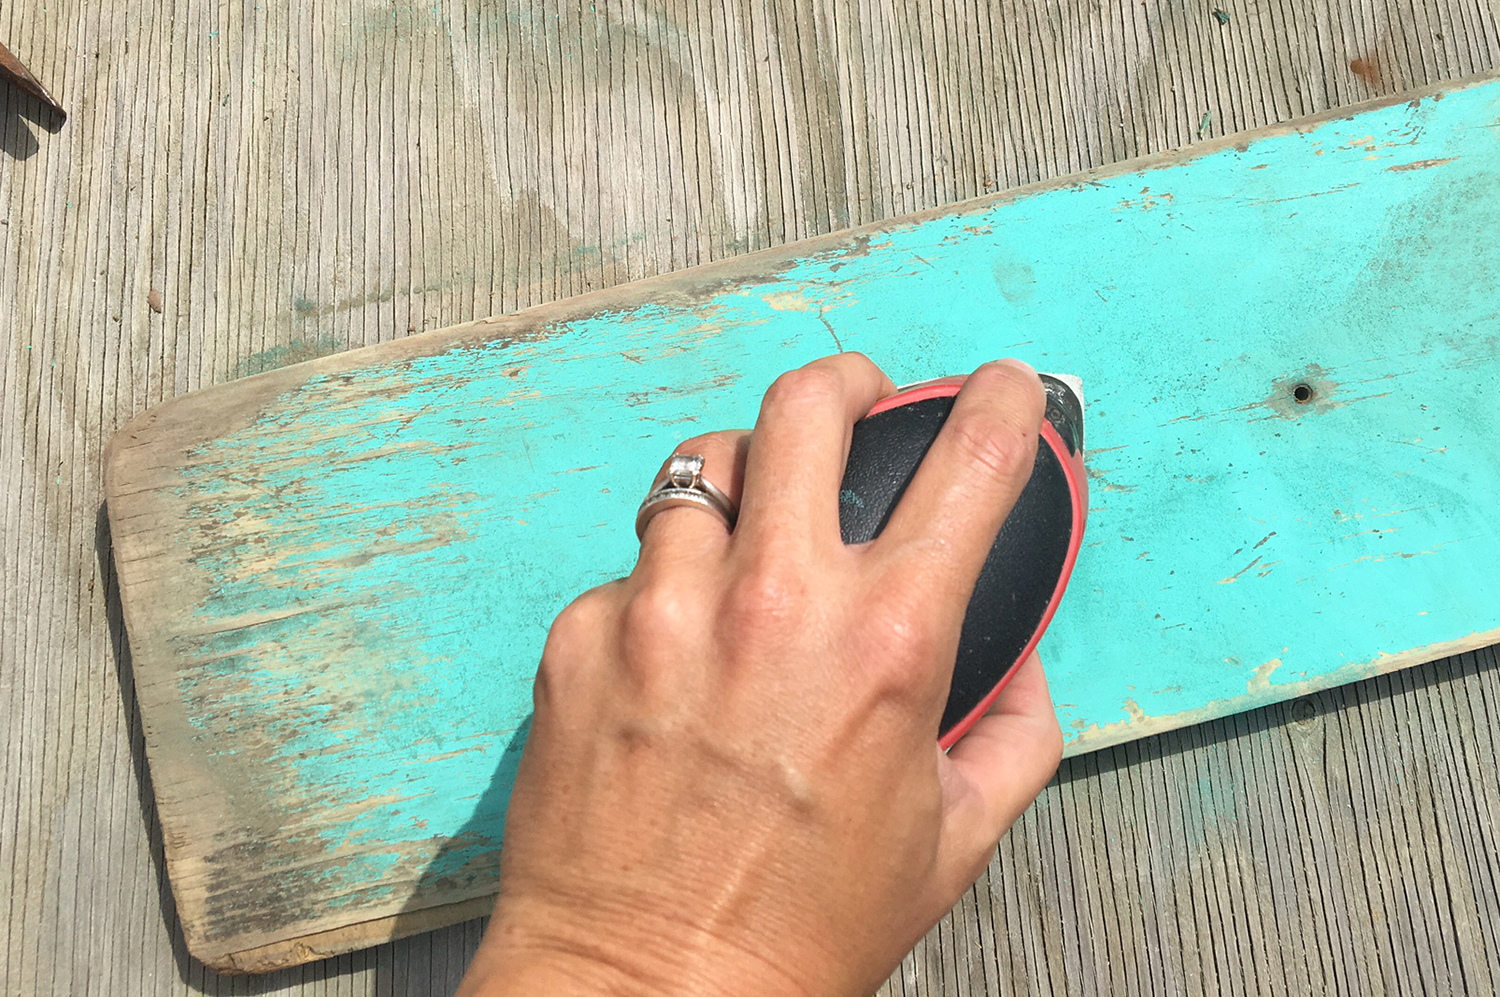
After I finished sanding, I opted to keep it just the way it was with the original paint and the edges well-sanded. It added to the rustic, vintage appeal and I loved it.
The last step in prepping the ski was to seal it with Polycrylic sealer. I recommend Minwax water-based. Give the entire thing a first, even coat and allow to dry. Follow with a second coat and allow to dry.
NOTE: to ensure the removability of Paper Riot Decals without damaging the surface of your project, we recommend allowing at least 21 days for paint and sealer to thoroughly cure before attempting to adhere decals. Should you need to remove them and reapply elsewhere, this will decrease the likelihood of damage to the surface. ALSO NOTE: Due to the variations in paint that may be older (such as on a vintage project like this one), we recommend not attempting to remove & reposition decals if at all possible, as it’s difficult to predict how older paint will perform with our decals.
Once your paint and/or sealer has cured, apply decals. We recommend that you cut decal designs out while still on backing paper and pre-position them for spacing on your project. Include any hooks you intend to adhere as well. This will allow for proper spacing of all components. Once you’re satisfied with the placement, begin applying decals carefully.
After decals have been applied, fasten hooks and apply any hanging hardware to backside.
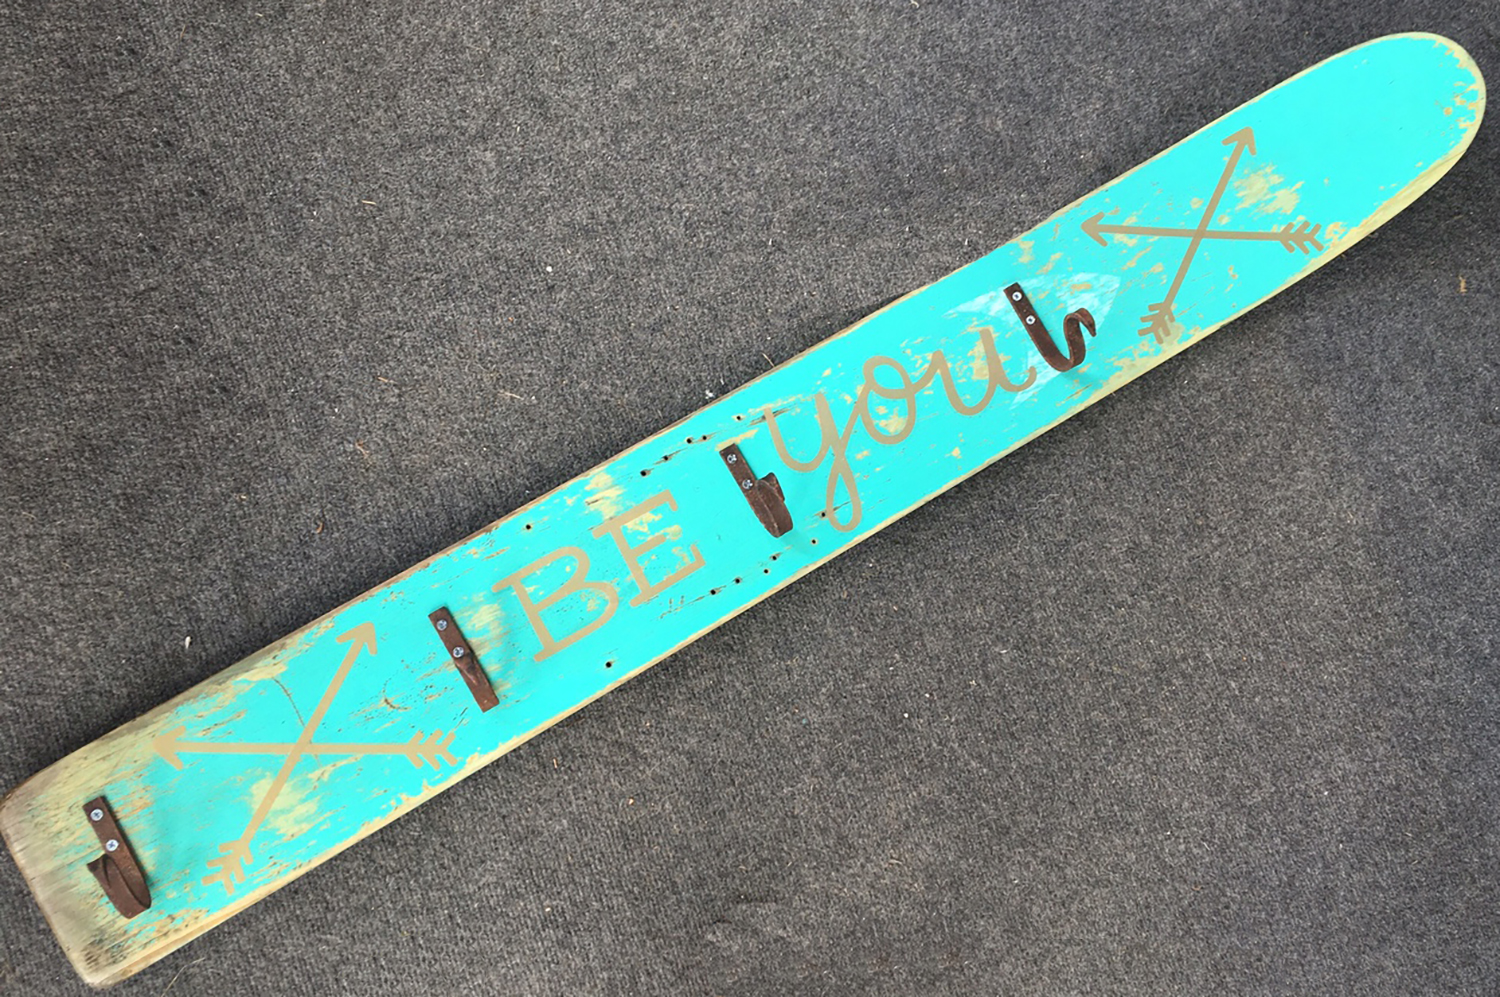
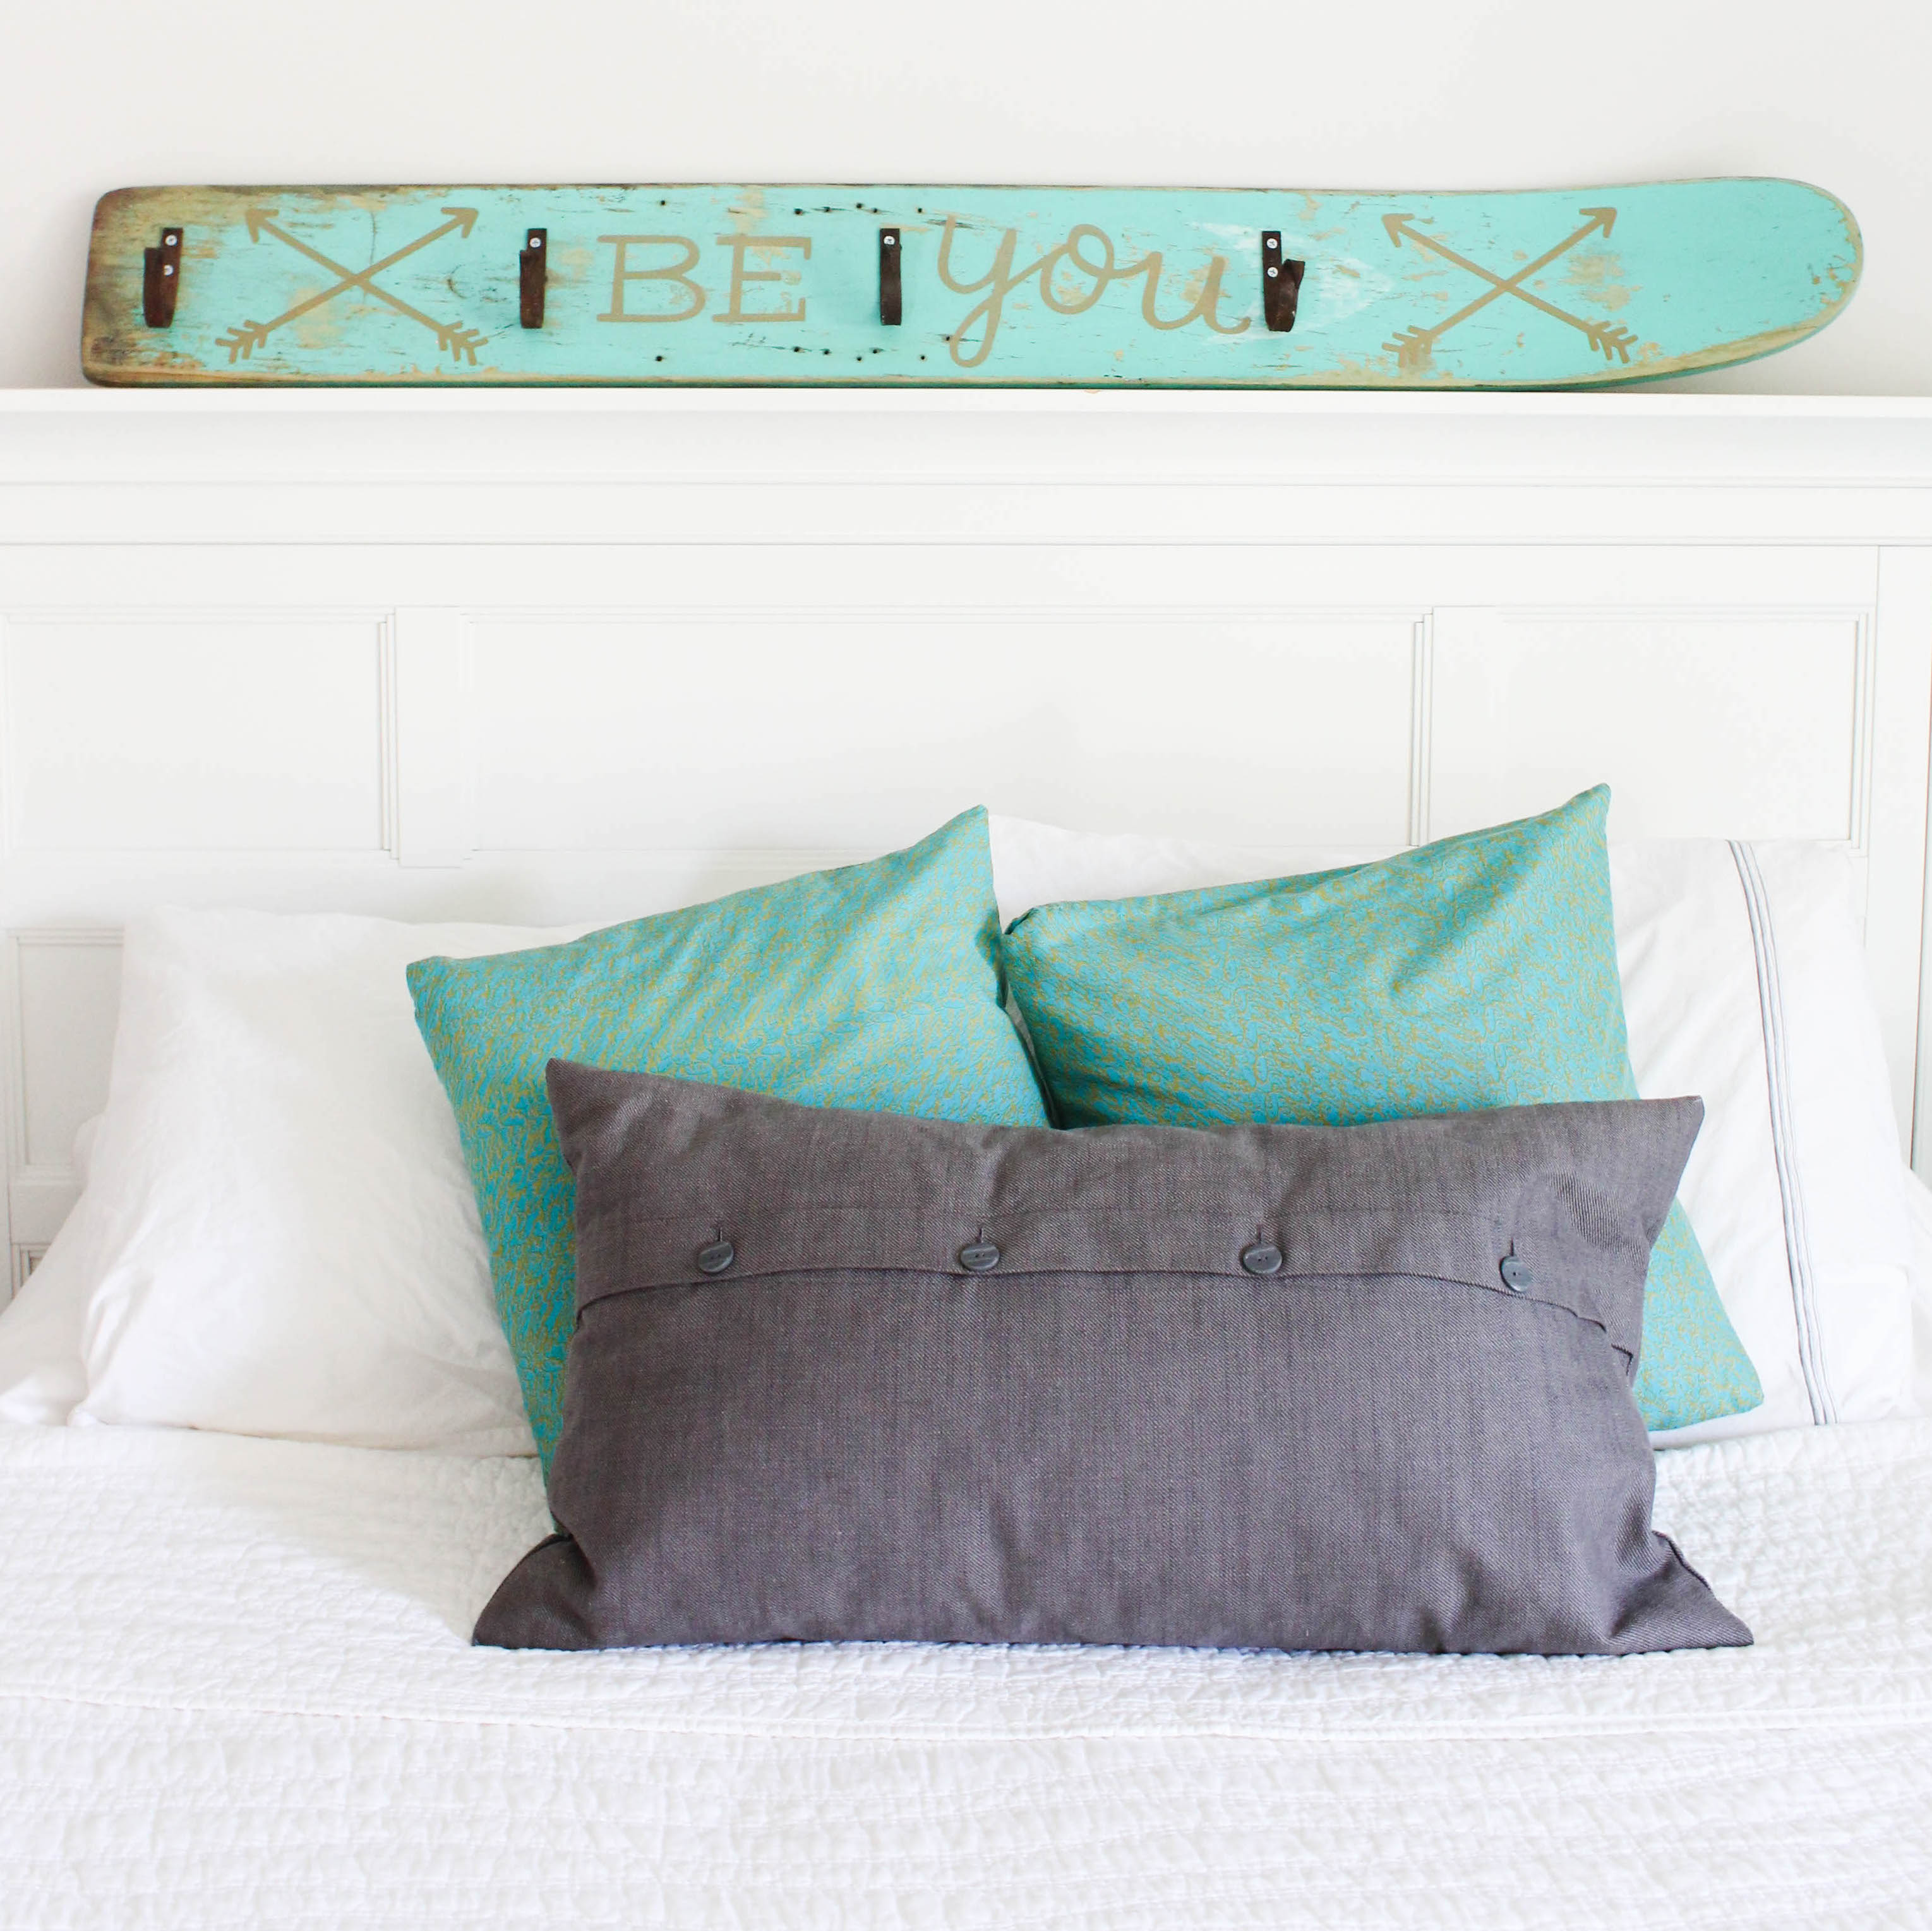
Proudly hang or prop your new project wherever you’d like to display it.
Isn’t she lovely? And fun?