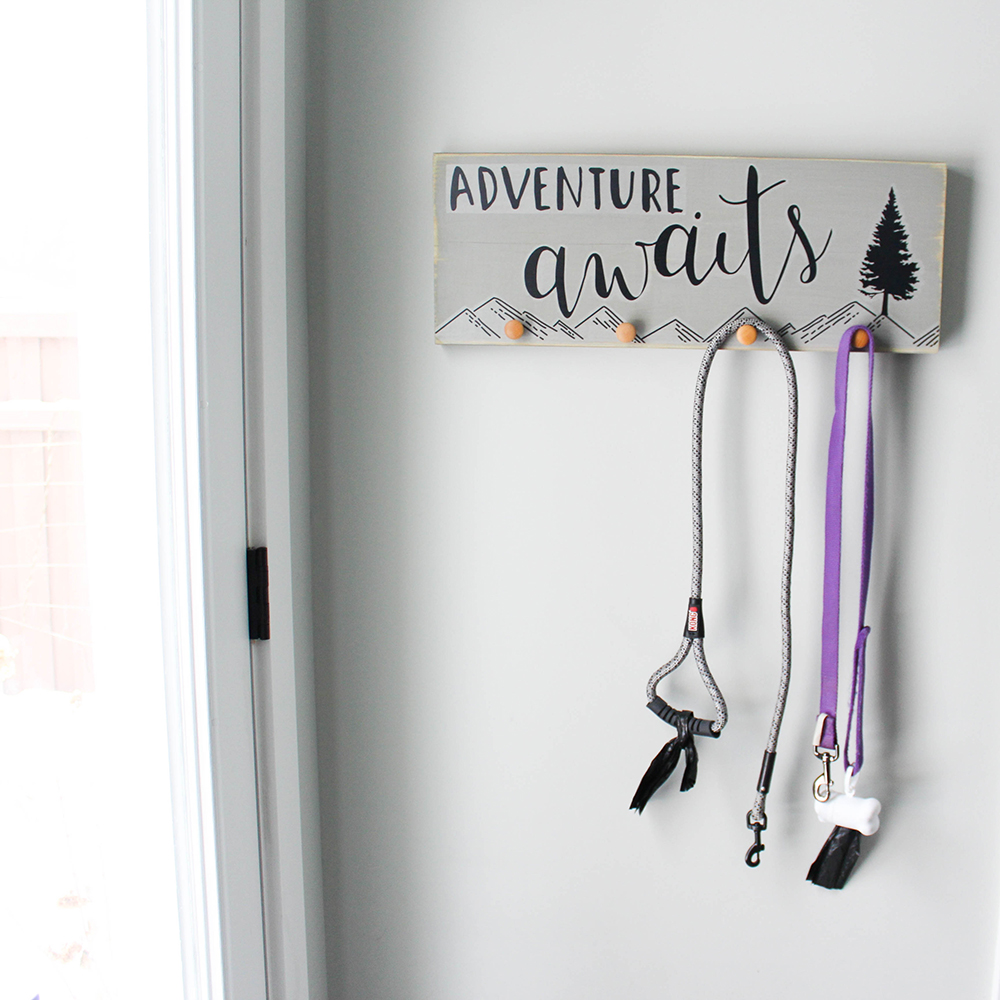
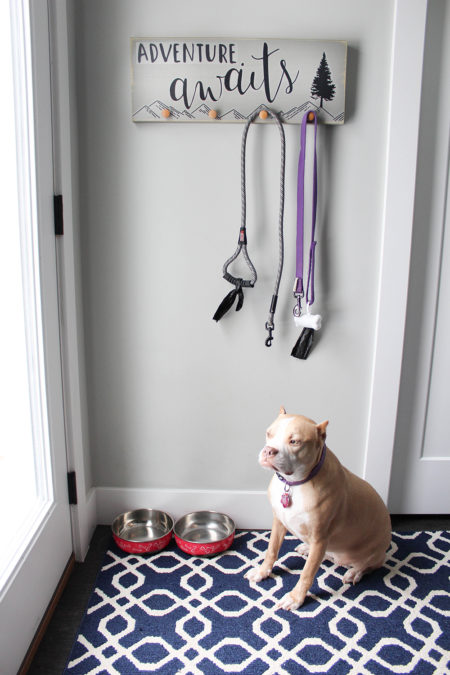
Dogs totally dig a good adventure. And we can almost bet that once you hang this sweet little DIY leash hanger sign in the entry way, your pooch will become a semi-permanent fixture nearby. She’ll be clearly hoping to send the message that she is ready for her next grand adventure outside. With her human in tow, of course.
Take Chloe here, for instance. She’s learned that if she hangs out by the door for a while with a pouty face on, chances are good her human (Jen from Paisley + Sparrow – one of our favorite humans!) might just grab a leash and head out for a new adventure.
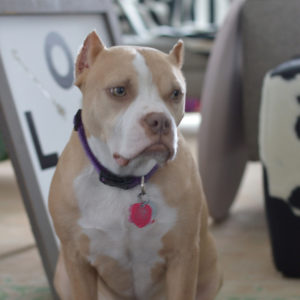
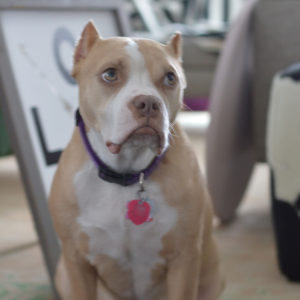
As a side note, she’s also learned that if that doesn’t work, she can always meander back into the midst of the bustle of a busy household and put on one of her expertly crafted pouty faces. She’s a master.
Give your four-legged friend’s gear a nifty place to hang. It’s handy, it’s cute and your dog will love it. Happy creating!
Supplies you’ll need:
Paper Riot Let’s Get Lost Wall Decals
Precut piece of wood
Paint (we recommend latex satin finish)
Polycrylic sealer (we recommend Minwax
Sandpaper & sanding block or palm sander
Wood or metal hooks
Scissors
Step 1: First, you’ll trim & arrange design on wood base
Using scissors, trim around design pieces and arrange on wood, ensuring proper placement as you’d like it to be. Set designs aside.
Step 2: Next, you’ll thoroughly sand wood base
Thoroughly sand face of wood base until it feels smooth when you run your hand over it (we recommend using 120 grit sand paper with palm sander).
Step 3: Next, you’ll paint, sand & seal wood base
Apply a coat of paint to front & sides of wood base and allow to dry. Lightly sand edges of surface to distress. Apply a coat of polycrylic sealer to front & sides of wood base, then set aside to dry. NOTE: for best results, we recommend allowing 21 days to pass prior to adhering decals to painted wood base. In the event you may need to adjust placement of decals, removing them prior to 21 day waiting period could result in paint damage.
Step 4: Next, you’ll apply decals
Apply decals as shown in design, or arrange however you’d like them to be.
Step 5: (optional) Next, should you prefer to make these decals permanently affixed to this sign, you’ll apply sealer
Apply two coats (allowing to dry between coats) of polycrylic sealer over the decals to seal decal edges and ensure permanence of the design.
Step 6: Attach knobs or hooks
Attach knobs or hooks to sign, following instructions on knob or hook packaging.
Step 7: Hang on the wall
We recommend affixing “D-ring” style hooks to the back of your sign and hanging it on the wall according to the instructions on the backside of the packaging.
You’re all set to hang leashes on your fun new sign. Your pooch will adore it, and we bet you will too.
Get your riot on!