If you were a child of the 70’s (or maybe even 80’s!), you’ve seen one. Your mama, grammy or aunty likely had one of these beauties hanging somewhere loud & proud for the world to see. It was, after all, the iconic piece of home decor back then. The classic quadrant “rural life” home decor thingy:
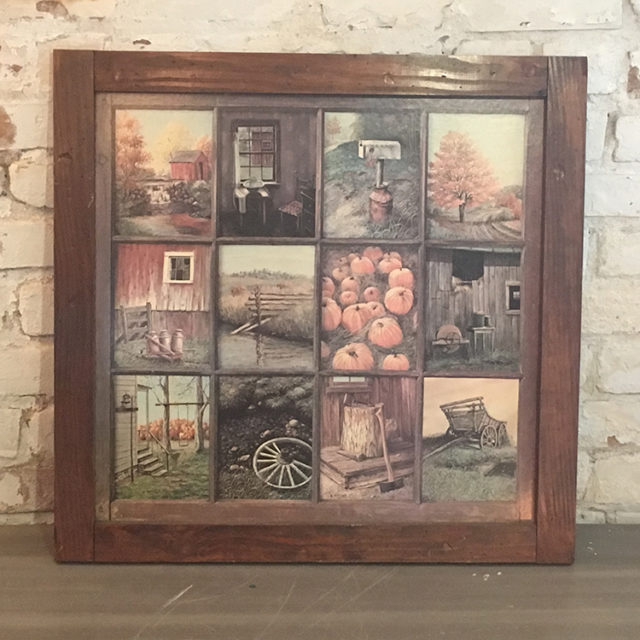
I recently stumbled across one at a thrift store and it was a buck. Yes, just a buck. Naturally, I scooped it up and brought it home to transform into… well, something.
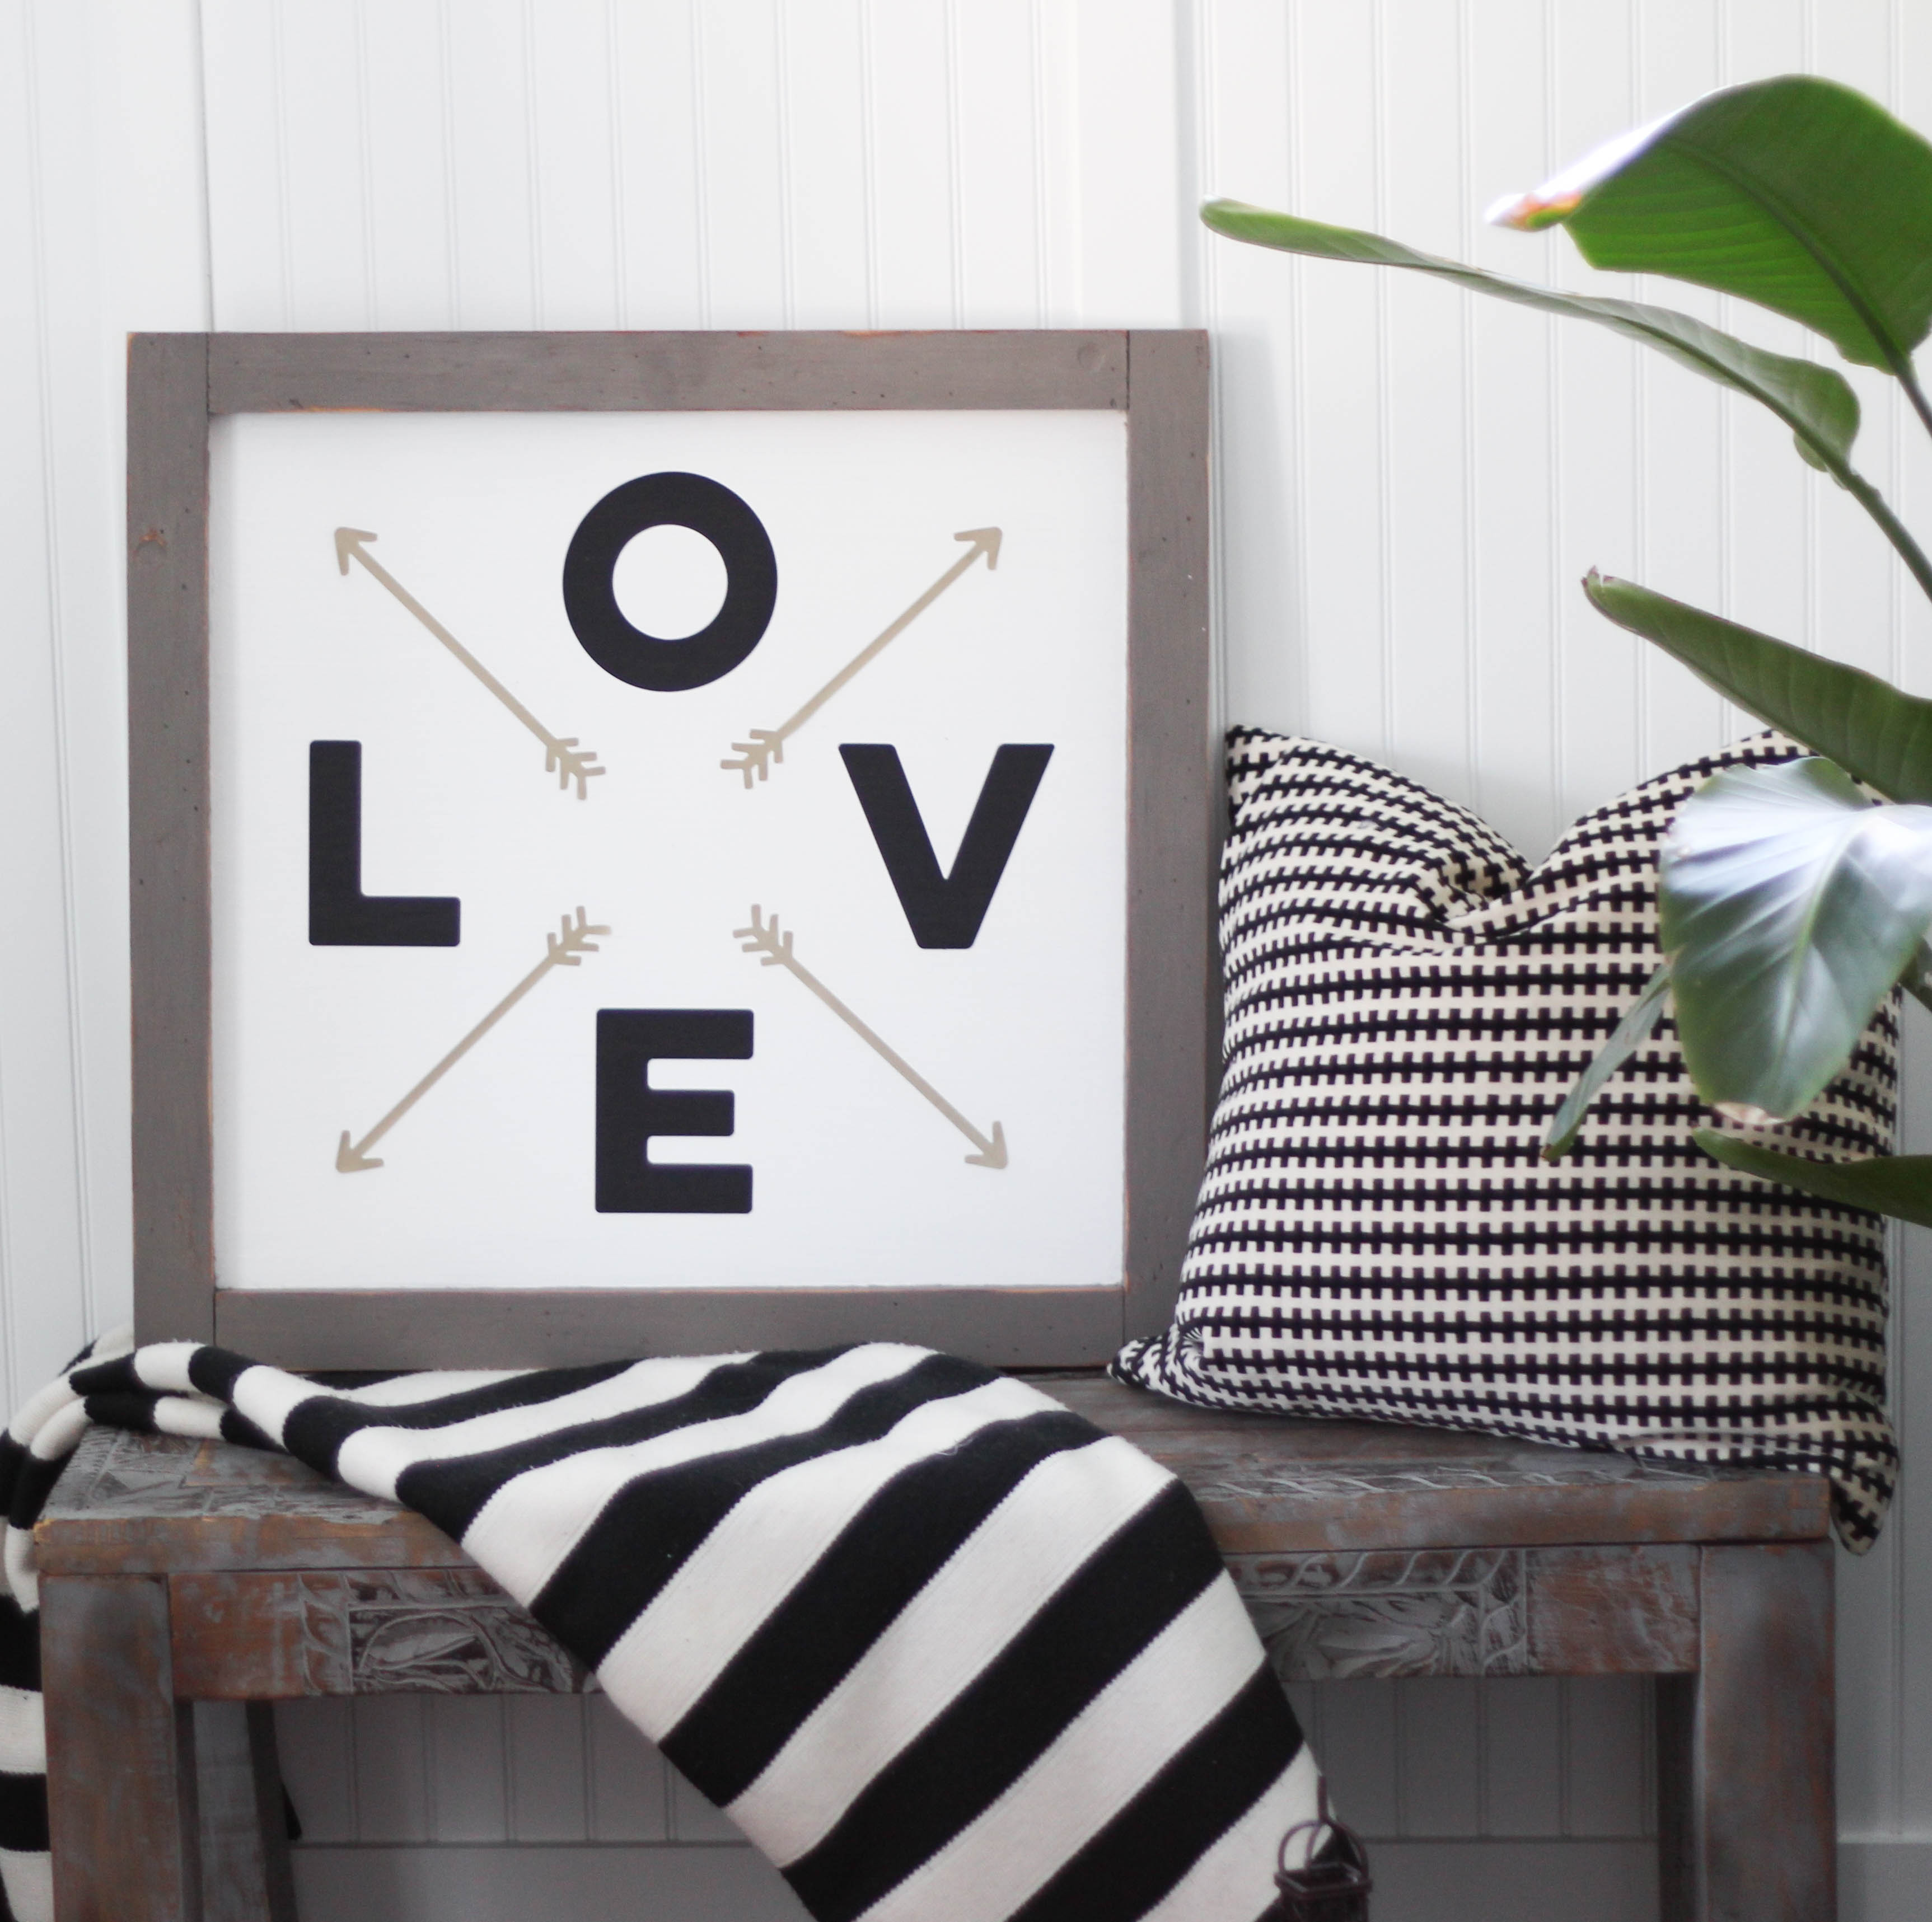
I’m a fan of Pinterest and lately I’ve been eyeballing designs that include the word “LOVE” and arrows. Like this one:

I knew I wanted to create something of the sort, but hadn’t quite yet found just the right means. Bam – now I have.
I’d previously used some wall decals from two different sets (Be You Jumbo Wall Decals and Love is Family Jumbo Wall Decals), and had leftovers. Luckily, I had just the pieces I needed to pull together this design. NOTE: black LOVE letters from Love is Family and gold arrows from Be You.
Supplies you’ll need:
Paper Riot Co. Be You Jumbo Wall Decals
Paper Riot Co. Love is Family Jumbo Wall Decals
KILZ (or other brand) primer
White & grey latex paints
Polycrylic Sealer
Paint Brush
First, we needed to address the farm pic. That was relatively easy. I just needed to add a few coats of paint to hide the farmtastic designs, and we’d be all set.
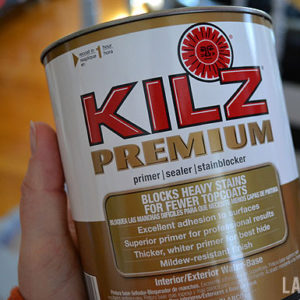 I started by covering up the lovely farm pics with a coat of white primer, brushed on. We suggest using KILZ Premium Primer. It helps paint stick to just about anything and covers up a LOT.
After the primer had dried, I covered it with a coat of white latex paint.
Once the white center area had completely dried, I coated the frame with grey paint. Depending on coverage desired, one or two coats of the grey may be necessary. Allow to dry thoroughly.
Once the paint had dried, I sealed it with Minwax Polycrylic Sealer. NOTE: if you plan to remove the decals from this piece and replace with other decals at a later date, we suggest waiting at least 21 days to place decals. This will allow the paint and sealer to cure properly.
To ensure proper placement, use a yardstick laid over the frame from corner to corner and a pencil to very lightly mark a line where arrows should be placed. Same with letters. NOTE: this may require a little repositioning, so we highly recommend waiting the 21 days between paint application and decal application.
Prior to peeling & adhering the letters & arrows, use a scissors to trim them out and place on sign. Eyeballing your pencil marks with the decals over them before adhering can help you avoid any mistakes you may have made in measuring. (Ask me how I know this. haha.)
To permanently seal letters & arrows onto sign, once all decals have been placed as you like, brush two coats (allowing to thoroughly dry between coats) of polycrylic sealer over decals.
Happy decorating!