Every once in a while when the planets align, a person gets the urge to clean their junky basement. As did I recently. And while digging, I ran across this fun little gem:
Sweet.
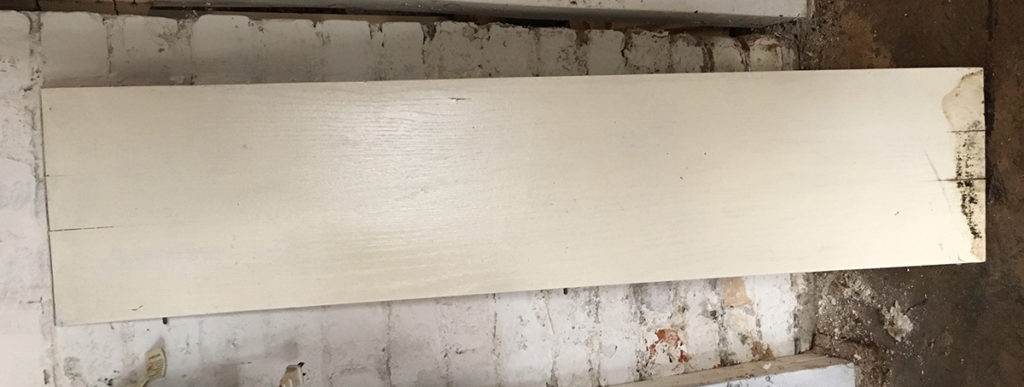
What is it, you may wonder? Well, it’s a blank slate, really. It’s a solid wood table leaf that I’d painted long ago to go with a table that I rescued and upcycled. However, the table is long since gone, so this thing needed to be trashed or rescued. Of course, I chose rescue.
Note: This table leaf measures 45″ x 10″, so if there’s no stash of useless table leaves in your basement, you can visit your local home improvement store and ask them to cut a piece of smooth wood (this bit is important – decals will stick best on smooth wood) to this size.
Supplies you’ll need:
Paper Riot ABC Safari Wall Decals
Scissors
Piece of wood (new or reclaimed – should be sanded smooth and painted/sealed)
Optional (if painting wood piece) supplies you’ll need:
Sandpaper (we recommend 120 grit)
Primer (we recommend KILZ Adhesion)
White Latex Paint (we recommend flat, eggshell or satin)
Paint Brush
Polycrylic Sealer (we recommend Minwax Polycrylic Satin)
Step 1: First, you’ll need to prepare the surface of the sign.
If you’re applying decals to an already-painted surface, simply wipe clean and allow to dry. Then proceed directly to Step 2 below.
Should you need to paint (or repaint) your wood base, follow these easy steps:
- Ensure wood surface is clean and free of grease, dirt and dust.
- Lightly sand the surface to scuff, ensuring proper adhesion of paint.
- Prime surface with Super Adhesion Primer (we recommend KILZ Adhesion Primer) and allow to thoroughly dry.
- Paint surface and edges of board, the reapply second coat after thoroughly allowing to dry.
- Apply two smooth, even coats of Polycrylic Sealer (we recommend Minwax Polycrylic Water-Based Satin), allowing to dry thoroughly between coats.
Step 2: Next, you’ll apply the decals.
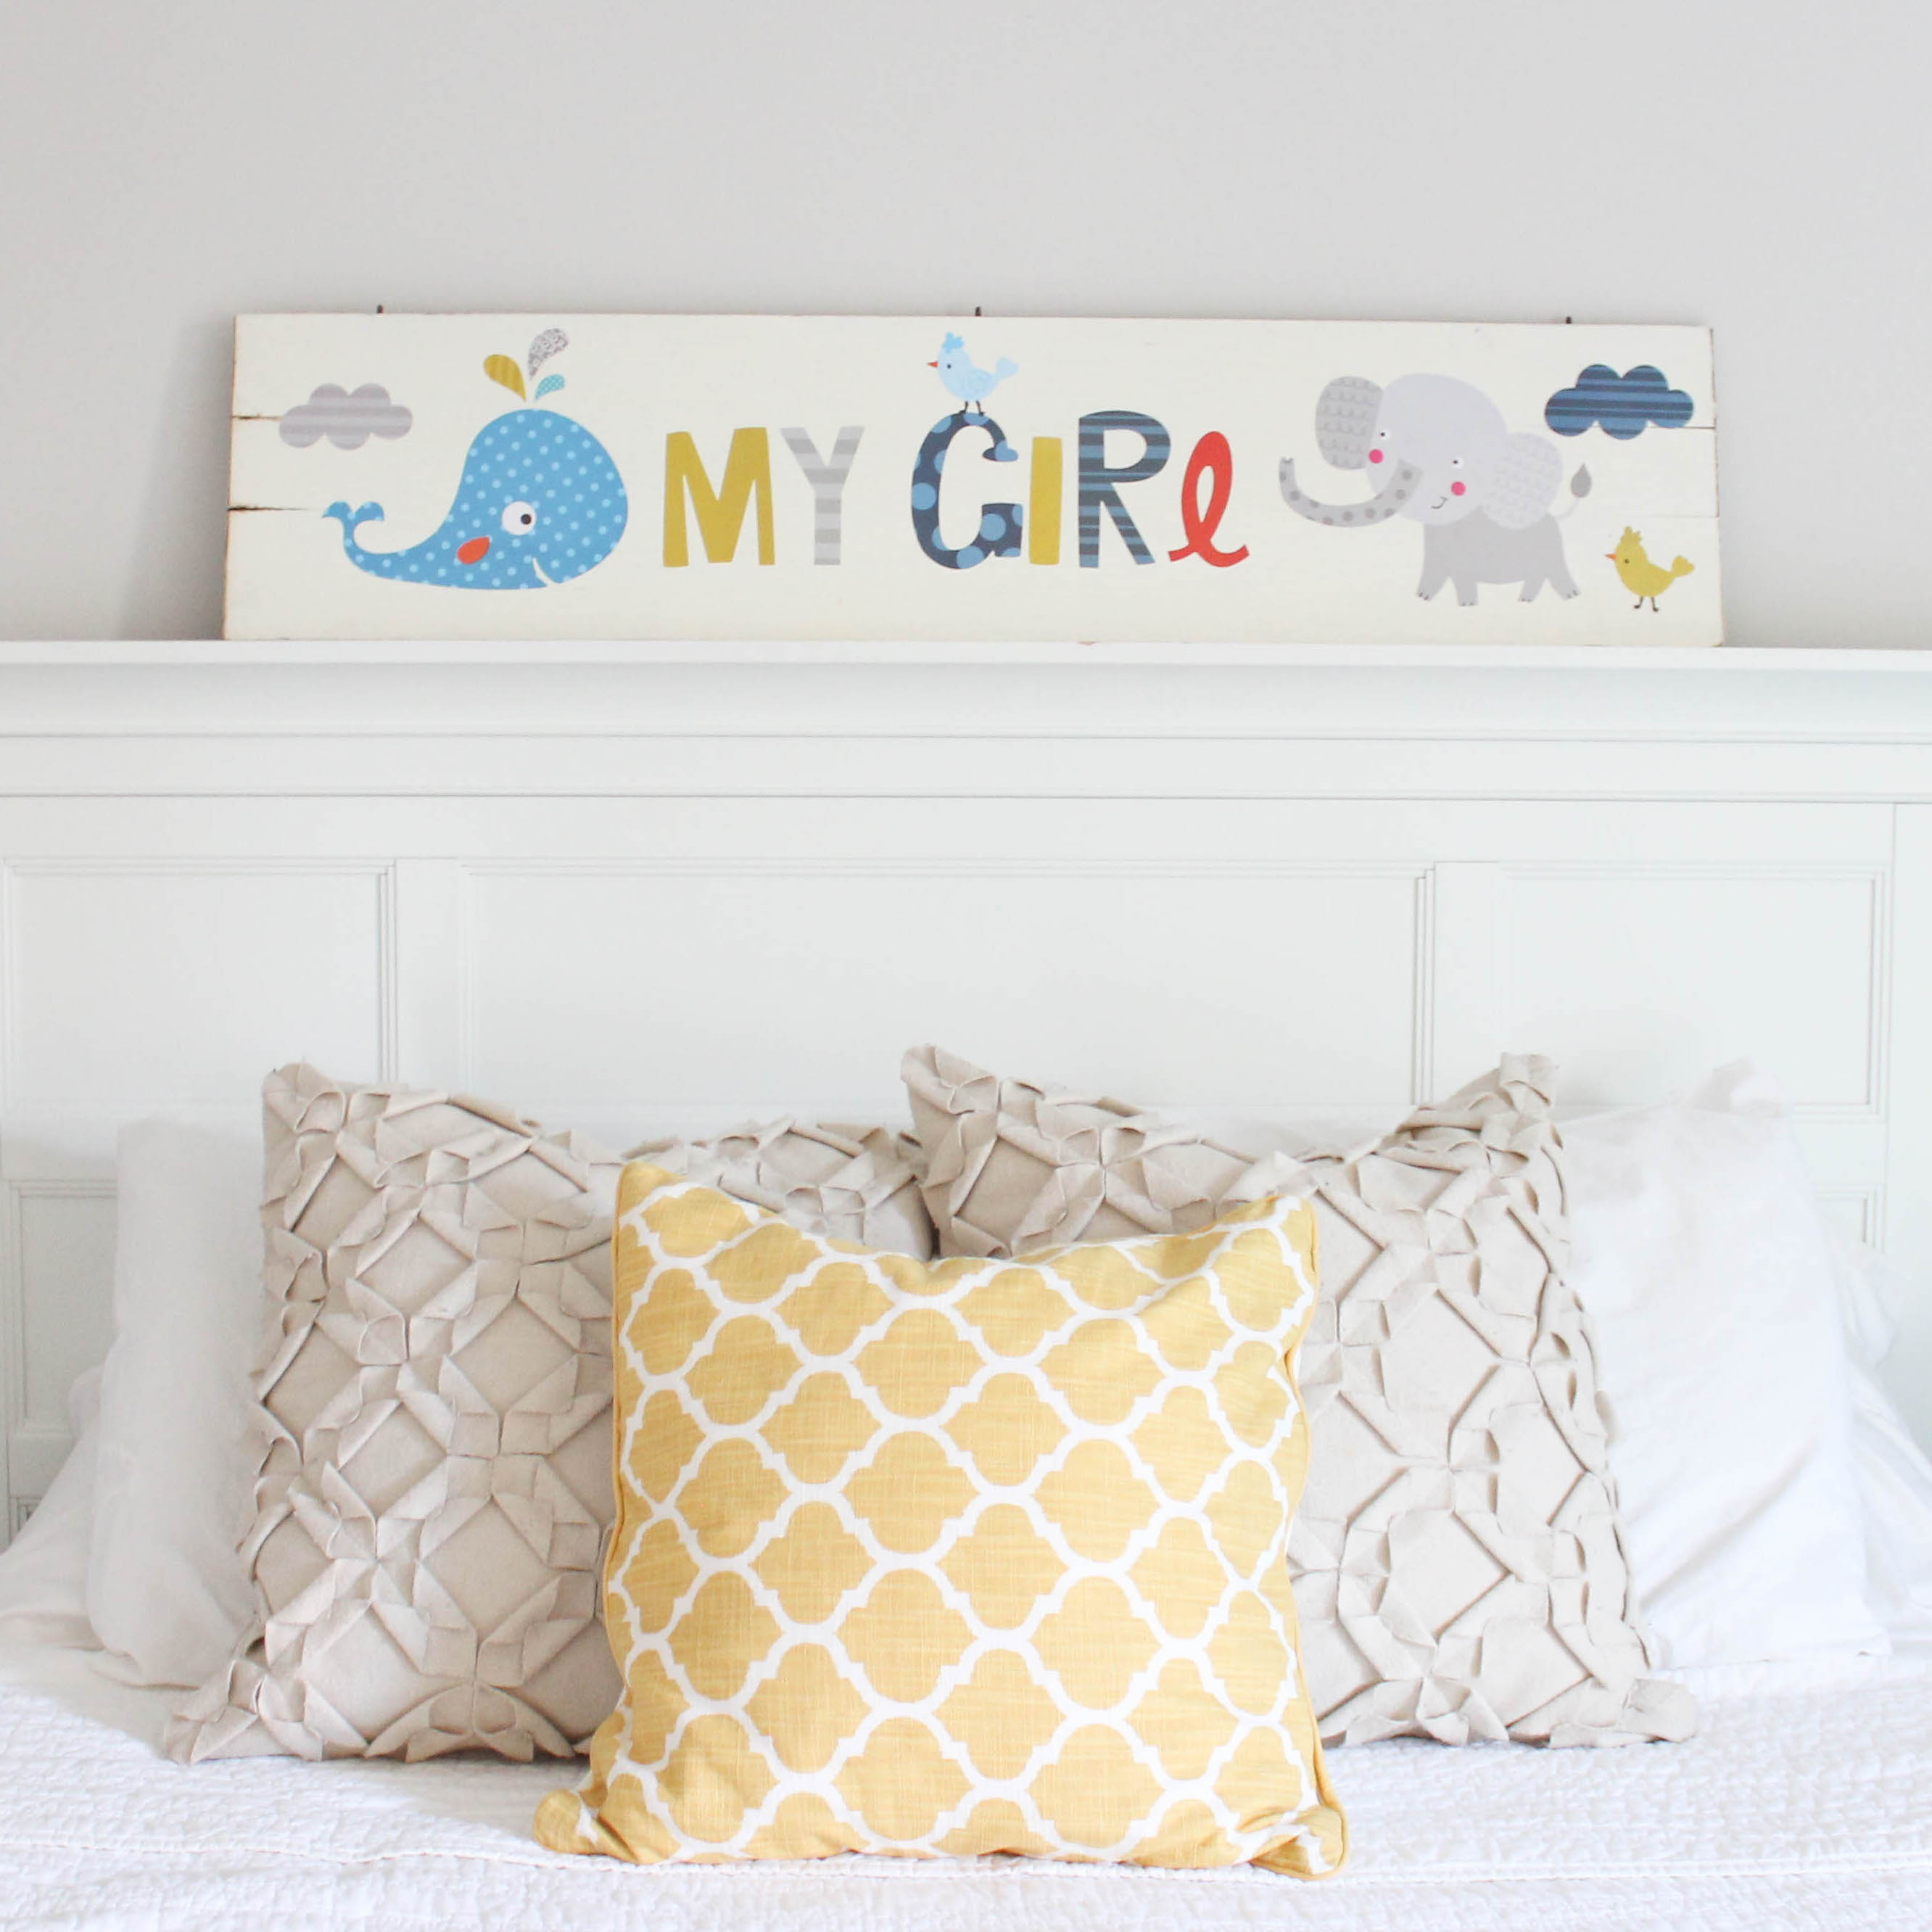
Trim decals from the playbook and arrange them on the sign. Once you love how it looks, gently peel decals from backing and apply. We recommend starting with the letter “G” in the center and adding decals to either side as shown to complete design.
Step 3: Lastly, you’ll stand back and love.
Should you stand back to admire your sweet sign and realize your OCD will not allow you to love it without a bit of tweaking, it’s no sweat. Really. Just gently peel decal** and adjust as necessary.
Additionally, should you choose not to rest your sign on a headboard, against a wall, etc. simply apply some hangers to the backside and hang on the wall.
**NOTE: When painting or repainting wood, we recommend waiting at least 21 days prior to adhering decals. Should you need to remove and reapply, decals may damage paint should they be removed prior to 21 day period.
Happy sign making. Get Your Riot On!