 DIY signs are the coolest. But who’s got the patience or the skill to hand-letter those things? We’ve got a better idea!
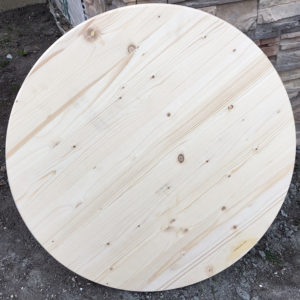
During the holidays, we created a project (the Round Chalkboard NOEL Sign) using a round wood sign base we’d found at Menard’s. Today, we’ll be sharing another DIY project idea using the same kind of base (shown right).
Supplies you’ll need:
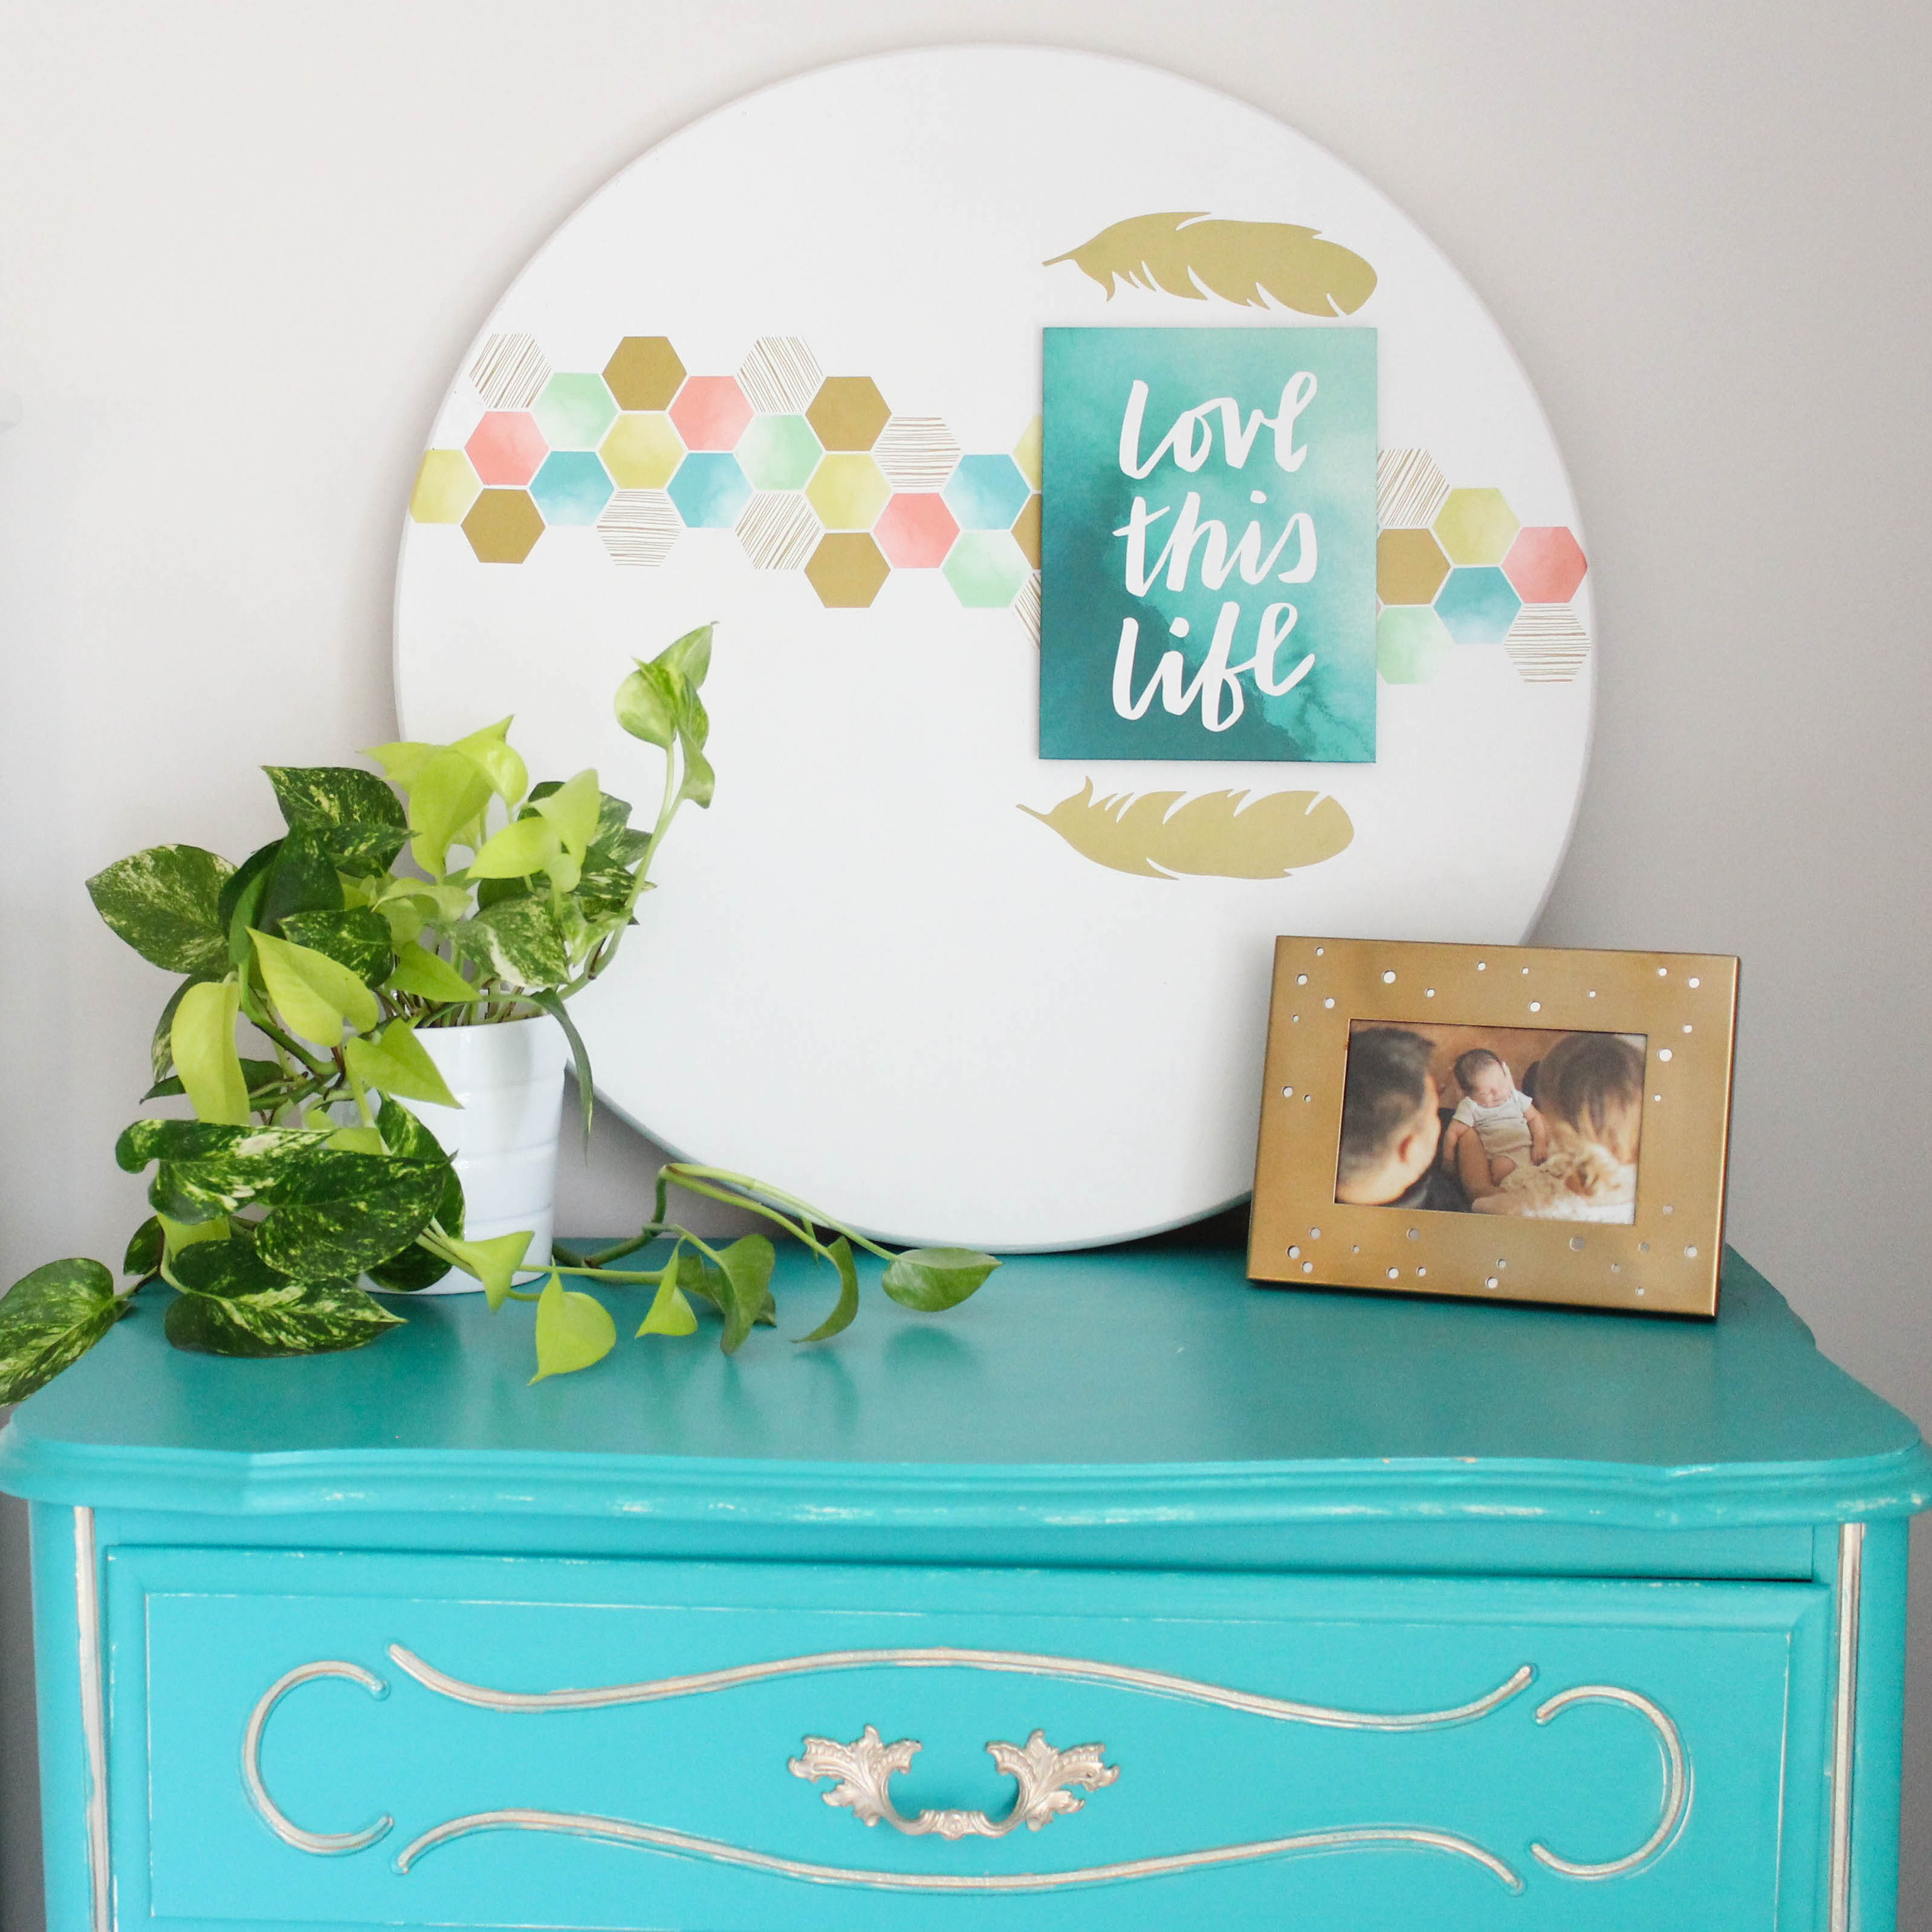
Paper Riot Co. Love This Life Dimensional Wall Art Kit
Circular wood sign base (we used Mastecraft Edge Glued Round Panel from Menard’s)
Rustoleum Chalked White Linen Spray Paint (you can also choose to use the brush/roll-on kind)
Rustoleum Matte Clear Sealer
Sandpaper (we recommend 220 grit)
Step 1: First, you’ll prepare the wood base for painting.
Although the sign base we had chosen was pre-sanded and smooth, we gave it one more sanding to ensure total smoothness (this will help with decal stickability). After brushing any excess dust away, set the base up on a table or other freestanding object so you can spray along all edges easily.
Step 2: Next, you’ll paint the wood base.
We gave our wood base two coats, allowing it to dry thoroughly between each coat. Once the second coat has thoroughly dried, you may wish to lightly sand along the edges of the sign to give it a bit of a “distressed” look. We opted to skip this step and keep a bit more modern look.
Step 3: Next, you’ll seal the wood base.
Apply two coats of sealer to the wood base, allowing to dry thoroughly between coats. Allow to dry for 24 hours before proceeding to Step 4.
Step 4: Next, you’ll apply the hexagon decals.
We recommend beginning with the hexagon decals and leaving the dimensional sign portion for last. Leaving the peel and stick backing on the foam squares, you’ll be able to move the dimensional sign around for placement purposes until you’re ready to secure it to the base. NOTE: Don’t let the hexagon decal application stress you 🙂 – there’s no wrong way to apply them. We recommend being careful in application before pressing to secure them, however. Because of the freshly painted & sealed surface, decal removal and reapplication may not be successful.
Step 5: Next, you’ll apply the dimensional sign.
Prior to peeling the backing from the foam squares and applying the dimensional sign, we recommend using a scissors to trim out the feather decals and laying them onto the wood base for placement. Once you’ve determined where these remaining 3 pieces will go, peel the backing from the foam squares and adhere to sign. NOTE: because we knew we’d be displaying our sign with plants and other objects sitting on a dresser top, we slightly offset the dimensional sign to the right. Should you plan to display this piece on its own, you may wish to center the dimensional sign.
Step 6: Next, you’ll apply the feather decals.
Simply peel feathers from their backing sheet and apply as shown.
Step 7: Next, you’ll prop or hang your sign up wherever you like.
If hanging, we recommend placing two sawtooth picture hangers on the back, making sure the weight limits for the hangers exceeds the weight of the sign. Follow the instructions on the hanger packaging for installation.
Step 8: Lastly, you’ll ogle at this thing!
Grab your favorite refreshments, have a seat in a nearby chair and prop up your feet. You’ve just created a masterpiece and it’s time to gawk at it.
Enjoy, and happy DIY’ing!